Showing posts with label Lawn Fawn. Show all posts

Saturday, September 6, 2025

Lunar New Year Challenge | September


Happy September blog friends.. Today I am on the Lunar New Year Challenge blog and I am sharing inspiration using Sponsor Lawn Fawn.... 

So many fun cards that you can create for this challenge. Just read the rules (listed below) to see what qualifies. There are 4 prizes up for grabs and all you have to do is link up HERE for a chance to win. 


Create card from white cardstock A2 size.

Ink blend in the center lightly some orange ink. 

Die cut the Lawn Fawn Zesty Lemon dies on orange cardstock. Yes you can use this for an orange too. Die cut 8 total and adhere them to the center of the card at an angle. trim off access. 

Die cut the little flowers on white cardstock and the center on pink. Adhere the pieces together using liquid glue and add them to the card here and there. 

Finishing with the sentiment from the Happy Happy Happy add-on stamp set, stamped in black ink on white cardstock. Die cut the Happy with the coordinating dies and the new year, trim down or use a die.  Adhere the sentiment to the card. 


A very simple card using one die set and one stamp set. Now it is your turn... link up for a chance to win. 
 

Please read the Challenge Rules HERE. You must create a new 2025 Lunar New Year, Chinese New Year or Year of the Snake card (snake birthday and snake baby cards are welcome)! Multiple entries are allowed. Backlinking to an older project is strictly prohibited.

Our September Lunar New Year Challenge will run from 12:00am EST on September 1, 2025 through 12:00pm EST on September 30, 2025. We would love to see you using products from our generous sponsors! The four lucky winners will be randomly selected from all eligible entries and announced at the start of the October Challenge. 

Thank you for stopping by.
Have a sweet day. 

Thursday, August 7, 2025

Best Wishes...


Welcome blog friends. Today I am participating in a challenge. I have not done a challenge in a long time. I seen the color combo and I was OKAY... let's do it. So here you go.... let's get started, shall we?


Create card from white cardstock A2 size.

(I am going off the colors in the challenge)

Cut a panel A2 size of one of the colors in the challenge and adhere it to your card base using liquid glue.

Cut another panel measuring 4 x 5 1/4 of another color in the challenge and adhere it to the card using liquid glue.

Cut another panel measuring 3 3/4 x 5 and stencil the Lawn Fawn Starry Sky Stencil. Use inks that match the challenge. My inks look a little softer due to using the kraft colored cardstock. I like it....

Mix a little Copic Opaque with water and sprinkle it on your starry background, make sure to let dry completely and adhere to the card using liquid glue. 

Using the Lawn Fawn How You Bean stamp and dies create a fun shaker and add paper stars matching the color challenge and star sequins as your shaker bits. Adhere your shaker to your card using liquid glue.

Stamp out the sentiments from the Lawn Fawn So Much to Say and How You Bean stamp sets on colored cardstock. Trim down the sentiments and add them to the card using liquid glue. 


Lots of fun stars and I know we always love a cute smile.
If you haven't guessed already this is the Lawn Fawn challenge... LOL 
 

Thank you for stopping by.
Have a fantastic day. 

Tuesday, July 22, 2025

Ice Cream Fun....

Wow I am off to a great week. Two days in a row posting.... go figure. LOL I guess this week is Lawn Fawn week because this is the second card this week using LF. Sunday was International Ice Cream day and I missed it but I remember this die set and well here you go. 


Create card from white cardstock A2 size.

Die cut the Itsy Bitsy Polka Dot Backdrop on white cardstock. 

Pick out 4 summer colors and cut them into 1 inch strips and adhere them to the back of your die cut background. You will see the colors come through on the front. Easy way to add color to a white background.  Adhere your background to your card base using liquid glue.

Die cut all these cute I Scream, You Scream dies on colored cardstock and adhere the pieces together to create these fun ice cream cones. Don't forget those cute happy faces, which is part of the set. Add some black cardstock to the back. 

Add some foam tape to the back of the ice cream cones and add them to your card. Try and center them the best you can. My stuff is never straight or centered but I try. That is what makes it unique. 

Stamp out these fun speech bubbles from the LF A Birdie Told Me on white cardstock using black ink. In the larger bubble stamp the sentiment from the How You Bean stamp set in black ink and die cut both bubbles out using the coordinating dies. Die cut the heart from the A Birdie Told Me die set and adhere it to the smaller bubble. Now let's add them to the card using foam tape. 


All done... how about those cute ice creams? 
Don't they just make you happy and want an ice cream cone. 
Guess I know where I am going tonight.. It is ice cream night... I know my husband will love that. 

Thank you so much for stopping by.
Have a sweet day!

Monday, July 21, 2025

Ribbit....


Hello blog friends.. I know it has been a while since I have posted a regular project. I will be honest I have only been posting on Instagram. It is a quick process. Although I do miss posting on my blog everyday, as I did before. For those who do not follow me on Instagram and only read my blog... Hello again. If you want to see all my past cards... head on over and follow me on Instagram. The link is on the right side of my blog. It says INSTAGRAM.. LOL 

Today I am getting crafty with Lawn Fawn. This set is part of the new release. I mixed with a few other sets too, so let's get started. 


Create card from white cardstock A2 size.

On a white A2 panel ink blend Lawn Fawn JalapeƱo, Mermaid and Forget Me Not. 

Die cut a 4 open window rectangle framed die on your ink blended background. I used MFT Gift Box Cover up die. On the frame sprinkle a little Copic Opaque mixed with water. Do not sprinkle the panels. 

Stamp out the images from the Lawn Fawn Capybaras! Add-On stamp set, the bee from the Bee Mine stamp set, the clouds from the Rain or Shine Before 'n Afters stamp set and the sun from the So Much to Say stamp set on white cardstock using black ink and color the images using your favorite medium. Die cut if you have the coordinating dies or fussy cut out each of the images. 

Create a sweet scene on each of the panels, leave room for the sentiments that you will stamp in black ink directly onto the little panel. You will need foam tape and liquid tape when creating your scenes. When overlapping use foam tape. 

Add some foam tape to the frame and add it to the card. Use liquid glue to adhere the panels to the inside of the windows and finish your scenes. 

Last minute I used the inks, water, glue and glitter to create the water scene under each scene. I used glue that dries white so it leaves more texture in the water. 


Well we made it... the card is done and oh so fun to create. 

I hope you all have a week full of blessings. 
Thank you so much for stopping by.

Remember to smile. 

Thursday, March 6, 2025

March Lunar New Year Challenge | Lawn Fawn Inspiration


Happy March blog friends.
Come and join us for another fun Lunar New Year challenge, link up HERE.


Today I am creating with one of our sponsors Lawn Fawn. You can mix and match to create a fun scene. This card was created using Lawn Fawn:

Create card from white cardstock A2 size.

On a white panel stamp the money images directly onto the card in the middle at the bottom of the card. 

We are now going to have to create a mask for this image. Stamp on Masking Magic or whatever you own and then over your image that you stamped on the panel. 

Now we are ready to stamp on the right and left of the middle masked image. 

Remove mask and see how cool it is all connected. 

Color the money images with the Artistry by Altenew markers. (set's listed above)

Stamp two of the snakes from the LF Critters in the Desert on white cardstock using black ink. Color the images using the Artistry by Altenew markers. Now die cut the images using the coordinating dies. Adhere them to the card panel. 

Die cut the LUNAR from the LF Finley's 123's die set on gold cardstock and adhere to your panel using liquid glue.

Stamp the HAPPY sentiment from the LF Happy Happy Happy Add-On stamp set on white cardstock using black ink and die cut using the coordinating dies. Add some foam tape to the back and adhere it to the card panel.

Finishing with stamping New Year directly onto the card panel using black ink. You can place your sentiment anywhere on your card or follow my card for placement. 


Thank you so much for stopping by.

I hope that I have inspired you to link up.

Please read the Challenge Rules HERE. You must create a new 2025 Lunar New Year, Chinese New Year or Year of the Snake card (snake birthday and snake baby cards are welcome)! Multiple entries are allowed. Backlinking to an older project is strictly prohibited.

Our March Lunar New Year Challenge will run from 12:00am EST on March 1, 2025 through 12:00pm EST on March 31, 2025. We would love to see you using products from our generous sponsors! The four lucky winners will be randomly selected from all eligible entries and announced at the start of the April Challenge. 

When sharing your challenge entries on social media, feel free to save this badge and post it along with your project. Please tag us @lunarnewyearchallenge on Instagram and use the hashtag #lunarnewyearchallenge so everyone can find and be inspired by all your amazing projects!

Thursday, February 27, 2025

Some Bunny...


Happy Thursday blog friends. Sorry I have not posted lately. I have been busy but when I got this adorable Build a Bunny set in the mail, I had to get die cutting. Did you get this set from Lawn Fawn yet? Well if you love Easter, I know you will love this die. 


Create card from white cardstock A2 size.

Cut a panel on the new LF Bitsy Blooms paper pack measuring 5 x 4 1/4. Adhere this panel to left of your card base using liquid glue. You should have a white strip at the end of your card. 

Die cut the LF Build a Bunny and Build a Bunny Accessories on colored cardstock. You can choose any color you like for each piece. They are pretty easy to put together so adhere your pieces together to create these cute bunnies. 

Die cut the Secret Garden and accessories and adhere it together to create a fun garden to adhere to your card. I used foam tape when I adhered it to the card base. nothing like a little dimension on your card. 

Now let's add the bunnies... use foam tape again. 

Finishing with a sweet sentiment from the LF Hay There Hayrides Bunny Add-on stamp set. Stamp directly onto your card using black ink. 


Lots of bunny action on this card. I could NOT just create one. LOL

Thank you for stopping by.

Have a hoppy fun day. 

Saturday, January 25, 2025

Panda-stic Friend...


Happy Saturday blog friends... Today I am posting for ScrapbookPal.com and I am getting crafty with Lawn Fawn newly released I Heart Pandas and Bamboo Forest. This release was so cute, I just could not help my self. I mean look at those adorable pandas.... so let's get started.


Create card from white cardstock A2 size.

On a white A2 panel ink blend Pinkfresh Studio: Emerald City, Seaside and Meadow Premium Inks with the Pinkfresh Studio: Blending Brush 1”. The new 1 inch brushes are amazing by the way. They are my favorite, I got rid of the other ones I had. 

Die cut the Bamboo Forest die on your ink blended background and adhere it to the front of your card base using foam tape.

Die cut the Bamboo Forest extra leaves dies on the same blended ink paper and fill your background with these leaves. Use liquid glue only on the stems so you can fluff the leaves, giving it some dimension. 

Stamp out these adorable images from the I Heart Panda stamp set on white cardstock using black ink and coloring the images with Copic Sketch Markers: G14, G02, RV11, R11, V04, B21 and B23. Die cut with the coordinating die set and then create your scene. 

Finishing with stamping the sentiment directly onto the card base using black ink. Line up your sentiments to fit into the white space. 


You can get fast shipping and discounts on the crafty things we love the most. Make sure to check out ScrapbookPal.com.  

Thank you for stopping by on this fine Saturday.

Have a crafty fun weekend. 

Saturday, December 14, 2024

ScrapbookPal.com | Lawn Fawn Celebrate Santa


Happy Saturday blog friends.. today I am sharing a ScrapbookPal.com card. Did you know that ScrapbookPal.com carries Lawn Fawn and they just happen to have the new release HERE. We all love our Lawn Fawn... right? Today I am using many of there products, so let's get started.

Card designed using:


Create card from white cardstock A2 size.

Stencil the Lawn Fawn Winter Sprig using green, brown and blue ink. 

Cut a strip 2 1/2 x 4 1/4 of the LF Candy Cane paper and adhere it to the bottom of the card. 

Stamp out this adorable image from the Celebrate Santa stamp set and color using Copic Sketch markers (listed above). Die cut the image using the coordinating die set. 

Die cut the word bubbles from the same set on white cardstock and stamp the sentiments using black ink and then add to the card. 

Finishing with a few of those fun gems from the Spellbinders Paper Arts Color Essential Gems. 


Make sure to check out ScrapbookPal.com for your crafty needs. They offer many discounts on our favorite companies. It is always good to save a little plus you get free shipping with $50 orders in US. 

Thank you for stopping by.
Have a wonderful Saturday!

Wednesday, December 11, 2024

Be Merry...


Happy day blog friends. How about another Christmas card? Today I am getting crafty with Lawn Fawn Giant Be Merry, String of Lights Backdrop and String of Lights Backdrop Extra Bulbs add-on dies. All dies, no stamping today. 


Create card from white cardstock A2 size.

Cut an A2 panel on some fun patterned paper and adhere it to your card base using liquid glue.

Die cut the String of Lights Backdrop on white cardstock. 

Die cut the String of Lights Backdrop Extra Bulbs Add-On on colored cardstock (red, blue, teal, purple, yellow) Go wild with color and adhere the bulbs with the cut out on each of the bulbs on the String of Lights Backdrop. 

Add some foam tape to the back of the backdrop and adhere it to your card base. 

Die cut the Be Merry die on blue glittered carsick and two times on white cardstock. Adhere them together. This gives the sentiment dimension. Now add some glue to the back of the sentiment and adhere to the center of the card. Do not press down, as it will only adhere to parts of the lights. 


I am all about simple these days and the dies that are coming out sure do make that easy. As you have seen I have not colored any images for a while now. I am sure I will again. 

Thank you for stopping by.

Have a blessed day!

Friday, December 6, 2024

Lunar New Year Challenge | December Challenge

Welcome blog friends to another fun Lunar New Year Challenge. 
Every month there is a new challenge with four fabulous Sponsor giveaways. 
You can link up on the Lunar New Year Blog HERE

Now how about a little inspiration?


Today I am getting crafty with one of our amazing Sponsors Lawn Fawn. I have created my card using lawn Fawn:

Create card from white cardstock A2 size.

Cut an A2 panel on the Lawn Fawn Summertime Pint-size Patterns paper pack and adhere it to your card base using liquid glue. 

Die cut the Lawn Fawn: Lift the Flap Tree Background die on another piece of the Lawn Fawn Summertime paper and adhere it to your card base using liquid glue. 

Mix Copic Opaque and water together and splatter your card with lots of it. Make sure to let dry completely before handling. 

Stamp the dragons from the Little Dragon and Winter Dragon stamp sets on white cardstock and color them using your favorite medium. Die cut the images using the coordinating dies. Add them to your card using foam tape for dimension. 

Die cut the stars from the Snow Globe scene dies on the Lawn Fawn Summertime paper and adhere them to your card using foam tape. Add a little fine glitter to them for a little sparkle. 

Stamp the sentiment from the Winter Wavy Sayings on the Lawn Fawn Summertime paper using black ink and die cut using the Fancy Wavy Banners. Adhere to your card using foam tape. 


Make sure to follow the Lunar New Year blog for more inspiration and updates on each challenge. 

The rules are simple. You must create a new Lunar New Year, Chinese New Year, 2024 Dragon Birthday or 2025 Year of the Snake card! Multiple entries are allowed. Backlinking to an older project is strictly prohibited.

The December Lunar New Year Challenge will run from 12:00am EST on December 1, 2024 through 12:00pm EST on December 31, 2024. We would love to see you using products from our four generous sponsors! The four lucky winners will be randomly selected from all eligible entries and announced at the start of the January Challenge.

Please tag @lunarnewyearchallenge on Instagram and use the hashtag #lunarnewyearchallenge so everyone can find and be inspired by all your amazing projects! 


Thank you so much for stopping by.
Happy Crafting!

Sunday, October 6, 2024

October | Lunar New Year Challenge


Happy October blog friends..  Today and I am sharing some inspiration for the October Lunar New Year Challenge and I am creating one of our amazing sponsors. Lawn Fawn has a great selection for your Lunar New Year creating. Today I am using Lawn Fawn:

Create card from white cardstock A2 size.

Die cut the large Outside in Stitched Scalloped Rectangle Stackable on a piece of the Candy Cane Lane paper. 

Die cut a piece of white cardstock using the third largest rectangle from the Pink & Main (Layered Rectangles A2 die set, add some foam tape to the back and adhere it to the center of the LF rectangle. 

Die cut the second largest LF Outside in Stitched Scalloped Rectangle on a different piece of the Candy Cane Lane paper and add some foam tape to the back and adhere it to the top of the white rectangle. 

Add some liquid glue to the large rectangle and adhere it to your card base. 

Stamp out these adorable images from the Year Thirteen and My Lucky Charm  on white cardstock using black ink and color them using your favorite medium. Die cut the images using the coordinating dies. 

Create your scene with your die cut images. Stamp the steam from the Year Thirteen stamp set in black ink right above the Dim Sum. 

Stamp the sentiment from the Winter Wavy Sentiments directly onto your background using black ink. 

Finishing with a little sparkle here and there. I used misc. silver gems. 


So simple and cute.... don't you think? I love these sets together. Plus don't even get me started on these amazing patterns on the paper. 

Thank you to the amazing sponsors.

Visit the October Link-Up Party post HERE to see all of the design team projects and be inspired to create your own! When sharing your challenge entries on social media, feel free to save this badge and post it along with your project. Please tag us @lunarnewyearchallenge on Instagram and use the hashtag #lunarnewyearchallenge so everyone can find and be inspired by all your amazing projects. 

Thursday, August 29, 2024

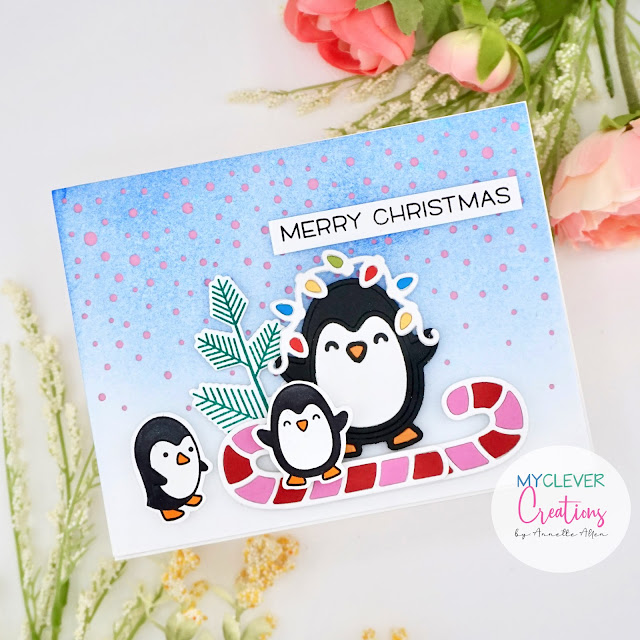
Lawn Fawn | Merry Christmas Penguins


Happy day blog friends.. today I am getting with new and old Lawn Fawn. They just released this cute Peppy Penguin and Cute Candy Canes dies that I paired up with Penguin Party and Cheery Christmas stamp sets and Snowfall Backdrop. 

Lots of mixing and matching... so let's get started.


Create card from white cardstock A2 size.

Cut a panel on pink cardstock A2 size and adhere it to your card base using liquid glue.

On a white A2 panel ink blend Pinkfresh Studio Blue Jay ink on most of the panel, leave a little white. 

Die cut the Snowfall Backdrop Landscape die on the ink blended background and adhere it to your card. 

Die cut the Peppy Penguin and Cute Candy Canes (twice) on colored cardstock. Adhere all your pieces together using liquid glue. 

Stamp out the cute images from the Cheery Christmas and Penguin Party stamp sets on white cardstock using black ink. Fussy cut or die cut the images. 

Now time to create this cute scene. Use foam tape here and there for a little dimension. 

Finishing with stamping the sentiment Merry Christmas from the Snow Bunnies stamp set on white cardstock using black ink. Trim down and adhere to the card using foam tape. 


Don't you just love those cute penguins? 

Thank you so much for stopping by.

Have a wonderful day!

Wednesday, July 10, 2024

Beach Time...


Happy day blog friends.. have you had any beach time yet? I have been once for the summer so far. It sure does get HOT on the sand. I usually like to go when it is cool outside. But I do love all things beach, so you know I just had to have this Waffle Flower Beach Tote die set. 


Create card from white cardstock A2 size.

Use the Lawn Fawn Beach Sunset stencil set and stencil the palm trees for your background along with the sand. Go wild because it is your background and most of it will be hidden but we want those palm trees to pop through the background. 

Die cut the Beach Tote die on some fun patterned paper. I used Elle's Studio Family Fun paper. I just mixed up all those fun patters and adhere my beach tote together. I stamped the BEACH from the WF Beach Tote sentiments stamp set on the pocket of the bag using black ink. 

I also stenciled that cute little bird dude from the WF Postage Collage Beach Days stencil set and popped him in the bag. Don't you just love how he is peeking up from the bag.. LOL 

Add the beach tote using foam tape for a little dimension. 


Super easy.... right? such a fun set and well I do love that stencil set from LF. There you go a simple and fun card. 

Thank you for stopping by.
Have a wonderful day.

Saturday, July 6, 2024

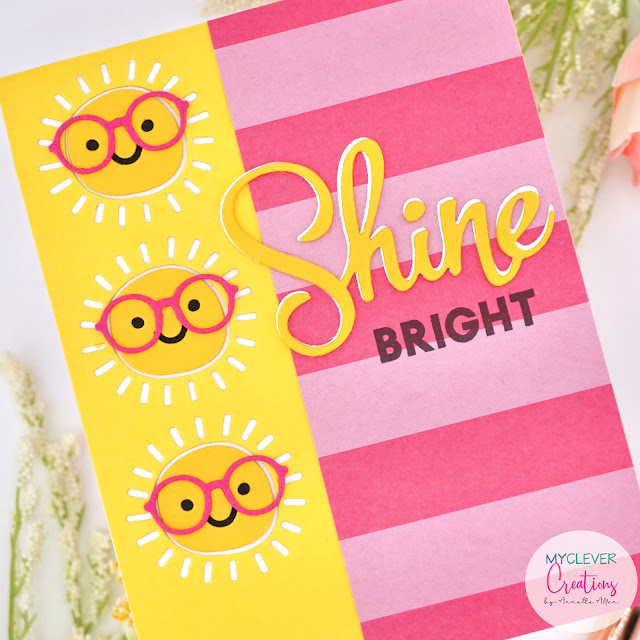
SHINE...


Happy Saturday blog friends.. I hope you all had a wonderful 4th of July.  It is now the weekend and I am sure some of you are still celebrating the holiday weekend. It is summer and I know lots of families are traveling and enjoying the summer. It has been a little hot here but it just happened to inspire this card. So let's get started.


Create card from white cardstock A2 size.

Cut a 2 inch strip of yellow cardstock and die cut the Paper Smooches Sunny die set. As you all know PS went out of business a couple of years ago, so I hope that you own this set because that sun is so FUN. You can really use any sun die your like. Die cut three of the suns on the strip and adhere to the card case.

Adhere a piece of designer paper to the other side of the card measuring 2 1/2 x 5 1/2. I adhere it using liquid glue. 

Die cut the word SHINE from any company. I also used another die that is not longer for sale, it was made by Papertrey Ink and came with one of there shaker sets they sold years ago. ANY shine sentiment will work. I die cut mine on yellow and white cardstock. Adhere the white to the back of the yellow and then adhere to the card. 

Finishing with the sentiment BRIGHT from the Lawn Fawn Offset Sayings Christmas stamp set. Stamp directly onto the card using black ink. 


A simple and bright card. Don;t you just love pink and yellow together? 

I hope that you all have a fantastic weekend.

Thank you so much for stopping by.

Tuesday, July 2, 2024

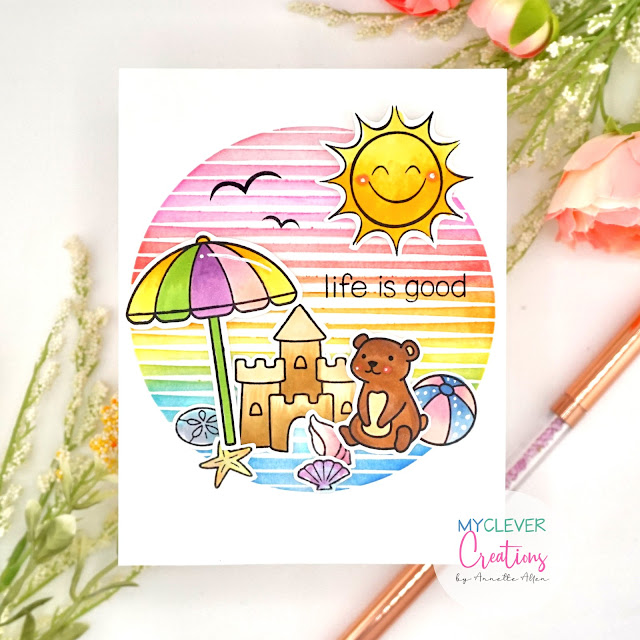
Life is Good...


Happy Tuesday and Happy JULY.. Do you have plans for the 4th? My husband and I do not have anything special planned. The holidays are always quiet as you all know that I did not have children. We have a pretty peaceful and quiet life. They do not allow fireworks in the city that I live but I am sure we will hear them all around. 

Now let's get to this card. Today I am getting crafty with Lawn Fawn and Altenew. You know I am all about the beach. I do not spend many days on the beach, but I do love to walk the pier. I am not really a sand through the toes kind of girl. 


Create card from white cardstock stock A2 size.

On an A2 white cardstock panel, stencil the Althea Sphere stencil using pink, red, orange, yellow and blue. Adhere the panel to your card base using liquid glue.

Stamp out these fun Lawn Fawn images using Sunny Skies, Butterfly Kisses, Life is Good and On the Beach stamp sets using black ink on white cardstock. Color the images with your favorite medium and die cut, fussy cut or machine cut the images. 

Now it is time to create your scene. Use liquid glue and foam tape when adhering to your card. 

Finishing with stamping the birds and the sentiment using black ink directly onto the card. 


LIFE IS GOOD.... don't you think? 

Thank you so much for stopping by.
I hope you have a wonderful peaceful day.