Showing posts with label Avery Elle. Show all posts

Monday, July 31, 2023

My Thanks...


Welcome everyone.. today is the last day of July. I hope you all had an awesome month. It has been full of fireworks, celebration and heat. Let's just say we have been spending plenty of time at the pools. But we are headed into August and I believe that the heat gets worse in August and I would like to say that we are prepared. But enough of all that, let's get to today's card. 

Today's card is a little different as you can see. SO I recently had to refill my comic markers and well you have to test them to see what colors need more ink. I kind of liked all the ink on the cardstock so I decided to use it as a background, so that is what you see here today.

Card designed using Avery Elle:
  • Toucan Party stamp set
  • Postage Stamp dies
  • Quilted Frame dies


Create card from white cardstock A2 size.

I die cut my Copic testing page using the Quilted Frame die.

Cut a piece of red cardstock the same size as your card base. Lay the quilted die on the red piece and make an X and then cut out that area of red so when you adhere the quilted layer you will see white instead of red. When cutting out the red, don't worry about being neat because no one will see it.

Adhere the red cardstock and the quilted background to each other. 

Die cut the Postage Stamp die out on white cardstock and adhere to the top of your quilted background.

Stamp out these lovely images and color using your favorite medium. I colored mine using Copic sketch markers. You can die cut them with the coordinating dies or fussy cut. I had to fussy cut. 

Now time to create your scene. Make sure to leave enough space for your sentiment.

Stamp the sentiment directly onto the card in the white space. 

Finishing with a few of those fun glittered enamel drops. 

I thought I was done but I then added some white gel pen here and there to highlight some of the areas of the images. 


That is all for now. I know you're thinking what an interesting background. YES, it might not be for everyone BUT I kind of like it. Different is good!!!!

Thank you for stopping by.
Have a wonderful day!

Thursday, June 15, 2023

Celebrate...

We made it to Thursday yay!. woke up this morning to some rain outside. I was up nice and early, usually I sleep in when it rains but my body was like WAKE UP. I am sure you have those type of mornings. I guess I got plenty of sleep. Which is a blessing, because I don't get those restful nights much these days. Thank you pre-menopause...

So here I am writing this post early then I usually do. I created this card yesterday using some oldies but goodies. 

Card designed using:

  • Avery Elle: Starburst Die
  • Neat & Tangled: Wonky Chevron Cover Plate


Create card from white cardstock A2 size.

Die cut the Wonky Chevron die on white, pink, green and yellow cardstock. These colors are not the basic colors in the color group but I say go with what you love. I am all about different so there you go. I ended up really loving these colors together. 

Adhere the Wonky Chevron to your card base. I started with the white frame and then filled the colors in. 

Die cut this fun Starburst die on white cardstock.

Die cut the sentiment from the Starburst die set three times on the green cardstock and adhere them all together and then to the center of the circle. 

Add foam tape to the back of the Starburst circle and then to the card. 

That is it... two die sets and one simple card..... what do you think?

I apologize for not having the names of the paper. I had a few sample packs of paper from a few years ago and never kept them in order with the name. But I am trying to use all that fun cardstock up. 

That is all for today.

Thank you for stopping by.
Have a wonderful day!

Friday, June 2, 2023

Birthday Shaker...


YES! It is Friday and I woke up feeling much better. Thursday must have been my last bad day, because I thought it was never going to end. I think as you get older that colds are a little harder to recover from. It might just be me, it just feels that way. 

Because I am much better I created this card using some older sets, which does not bother me one bit. I have lots of oldies that I still love and just can't get rid of them. So I dust them off and add some ink... LOL

Today's card was created using...

  • Avery Elle: Peek-a-Boo Pals stamp set
  • Avery Elle: Quilted Frame die
  • Avery Elle: Some Bunny stamp set
  • MFT: Fringe Banners
  • Pink & Main: Ballroom Gems 

Create card from white cardstock A2 size.

Die cut the Quilted Frame on a piece of green cardstock.

Die cut the Fringe Banners 4 times on four different colors of pink cardstock. Add the fringe to the back side of the circled die cut area of the Quilted Frame. Create a fun design that looks like you're ready to celebrate. Trim off access.

Stamp out the images from the Peek-a-Boo Pals stamp set using black ink on a separate piece of white cardstock. Color the images using your favorite medium. I used Copic Sketch markers. Die cut using the coordinating dies, if you have them. I did not, so I had to fussy cut. Adhere the hippo only at the bottom, but in the inside of the circle. 

Cut a piece of acetate and adhere it to the back of your circle using double sided tear tape. 

Add some foam tape to the sides of the acetate, creating a square for your shaker bits. Add some colored sequins to the center of your circle. Cut a piece of white cardstock for the backing of your shaker and adhere to the card with the foam tape you added before. Now adhere your shaker background to your card base. 

Adhere the big balloon behind the hippo using liquid glue.

Finishing with a few of those Pink & Main Ballroom Gems that I love so much.


A little shaker fun for someone's special birthday. Very simple and totally fun to create.

Thank you for stopping by.

Have a fantastic Friday!

Friday, April 28, 2023

Floral Thank You...


Happy Friday blog friends.. Do you have any fun plans for the weekend? I do not, we just got back from the Cayman Islands and now just back to normal life kind of stuff.  This weekend is suppose to be hot, so maybe we will go to the beach. I got a great tan in the Cayman Island and now I just want to keep it. Maybe a little beach time might help with that.

Well let's get to this card. I created this card designed using...
  • ErinLee Creative: Sketched Floral Background
  • ErinLee Creative: Holographic Cardstock 
  • Avery Elle Stamps: Thank You Die


Create card from cardstock A2 size.

Cut a separate piece of white cardstock, measuring the same size as your card front.

Choose three inks that blend well together and ink blend a fun background. I used Pinkfresh Studio: Coral Reef, Sparkling Rose and Berrylicious. 

Stamp the Erin Lee Creative Sketched Floral Background directly onto your blended background using black ink. Adhere the background to your card base using liquid glue. 

Die cut the Avery Elle Thank You die, twice on white and once on Erin Lee Holographic cardstock. Adhere them together, leaving the holographic one on top. Adhere the sentiment to your card background using liquid glue.

Finishing with a few of these pretty Pinkfresh Studio gems. 


I feel like you always need a few Thank You cards in your card stash. This is a simple hello with a pretty floral background. Very simple to create.

That is all for today.
Have a fantastic Friday.

Thank you so much for stopping by.

Tuesday, February 7, 2023

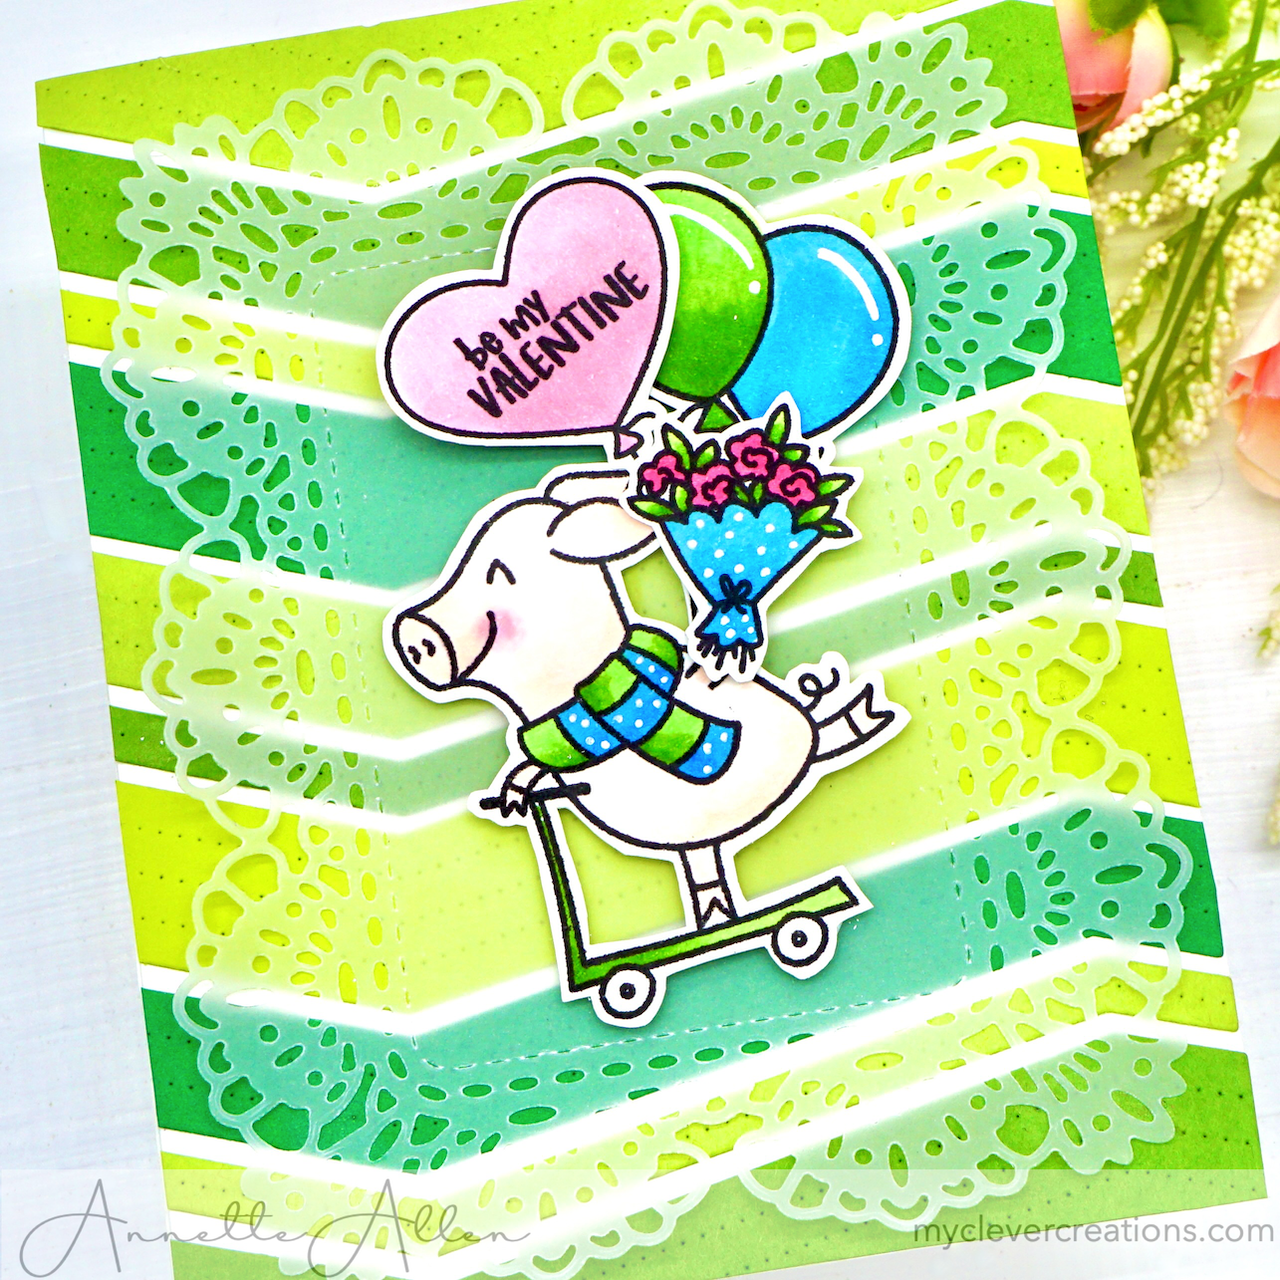
Non-Traditional Valentine's Card...


Happy Tuesday blog friends... Today I am sharing a very non-traditional Valentines card. I was thinking green and maybe was thinking about St. Patricks day but then went way left.. LOL

This card was created using..
  • Waffle Flower Crafts: Chunky Chevron die
  • Waffle Flower Crafts: Lacy Panel die
  • Avery Elle: Sweet Swines stamp set

Create card from cardstock A2 size.

Die cut the WFC Chunky Chevron die 4 times on 4 different colors of green or you can use a different color theme. 

Adhere the Chunky Chevrons onto the card base using liquid glue. Rotate the colors and leave a hint of white in between. 

Die cut the Lacy Panel die on a piece of Vellum and adhere to the card. 

Stamp these cute images from the Sweet Swine stamp set and color using your favorite medium, I used Copic Sketch markers. I then fussy cut the images.

Add the colored images to the card using foam tape to create your scene. 

That is it... a very non-traditional Valentine's card. 


Thank you for stopping by.

Have a wonderful Tuesday.

Remember to always think outside the box... it is fun!

Thursday, April 21, 2022

Buzzing By...

Spring is here and the bees are out. Welcome blog friends,  I am all about the Spring weather. Today I am on the ScrapbookPal blog HERE.  I feel in love with the new Avery Elle: Bee A Keeper set and today I am sharing a card that I created using it.

Make your card from card-stock (A2). I die cut the Pinkfresh Studio: Blanket Stitched Rectangle die on some misc. designer paper. I then die cut the Avery Elle: Three Hearts die, I centered it at the top of the die cut rectangle. This leaves me room for that cute little bee.


I stamped out the images from the Bee A Keeper stamp set and colored using Copic Sketch Markers (Y35, Y32, R81, 100, E74, E71, E70, E40, R24. R22 and B00. I then die cut all the images using the coordinating dies.

I added some Tombo 3D foam tape to my background and adhered it to my card base. I then added those cute bees and Bear Bee, also using foam adhesives. Finishing up with stamping the sentiment directly onto the die cut background.

Supplies:
- Avery Elle: Bee A Keeper stamp set
- Avery Elle: Bee A Keeper coordinating dies
- Avery Elle: Three Hearts die
- Pinkfresh Studio: Blanket Stitched Rectangle dies
- Bearly Art Precision Craft Glue
- Tombo 3D Foam Tape
- Copic Sketch Markers (Y35, Y32, R81, 100, E74, E71, E70, E40, R24. R22 and B00

So many fun crafty things on the ScrapbookPal website and most are already marked down. YAY! for saving money. Plus free shipping when you spend $50 for those who live in the US. 

Thanks for stopping by.
Have a nice sunny filled day. 

Sunday, April 10, 2022

49th Birthday Fun...


Happy April 10th everyone. Today I am sharing a special card that I created for someone I love. It is the big 49 and well of course I had to make a homemade card. I created this card using...

Avery Elle:

  • Critter Crew stamp set
  • Some Bunny stamp set
Lil'inker Designs:

  • Stitched Numbers dies
Pink & Main:

  • Sparkle Gems

I cut the designer paper to size and then stamped the balloon directly onto the designer paper. I then stamped the balloon again on a piece of white card-stock and stamped the sentiment in the middle. I took a small misc circle die and cut the center out of the design part of the ballon, then adhered the white balloon behind using foam adhesives. I adhered the background to my card base.

I added a strip of silver glitter card-stock to the side of the card and set aside. 

Now it is time to stamp and color this cute image. I colored the images using Copic Sketch markers and then fussy cut the image. I added some foam tape behind the image and added it to my card base.

Finishing up with a little white gel pen here and there and I also added some sparkle with Pink & Main: Sparkle Gems. 

Now I cant wait to give this card to that special person. Birthday cards are so fun to create and to give. I think it just show them how special they are when it is homemade. Dont get me wrong store bought cards are nice too but when you make it, you are thinking of that person the entire time and creating it with them in mind. 

That is all for today.

Thank you so much for stopping by. 

Thursday, January 6, 2022

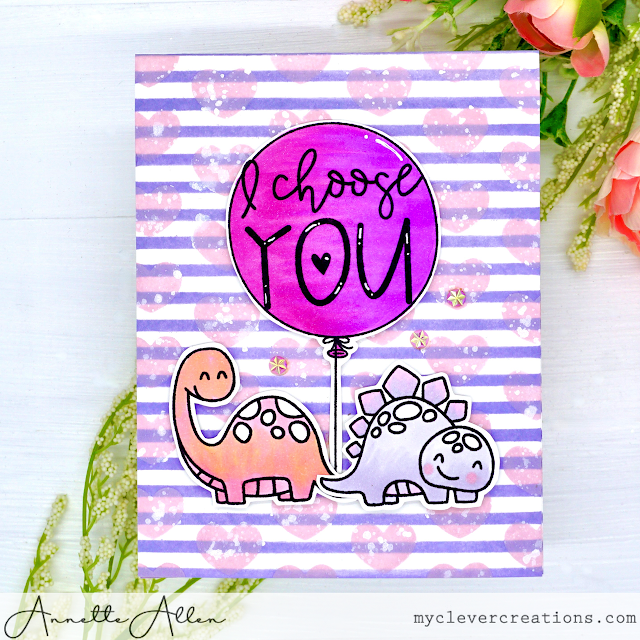
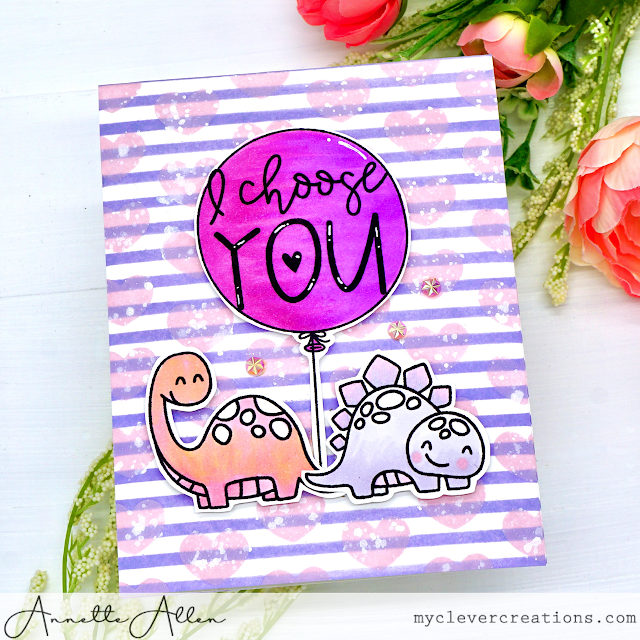
I Choose You...


Happy hello.... is it me or is this week going by slow? The days are long and I am kind of enjoying it. But the most important is the card today... right? I am all about the hearts right now. 

Today's card was created using... Pink & Main: Puffy Heart Stencil and Starlight Gems, Altenew: Classy Stripes Stencil and Avery Elle: Rawr, And Then and Some Bunny stamp sets. 

I started with using the Altenew Classy Stripes Stencil and Ranger Distress Oxide ink Shaded Lilac. I then layered the Puffy Heart stencil using Ranger Distress oxide ink Spun Sugar. Before I took off the Puffy Heart stencil I sprinkled a little Copic Opaque. 

I then stamped these adorable images and colored using Copic Sketch markers. I did not have the coordinating dies, so I had to do a little fussy cutting. I then added the foam adhesives for al little dimension. 

Finishing up with these pretty Pink & Main: Starlight Gems. 

That is all for today. I am off to finish my laundry. NOT so fun but someone has to do it. LOL

Thank you for stopping by.

Have an awesome day!

Wednesday, December 8, 2021

Hand-Clapping' Celebration...


YAY! it is Wednesday. The week is just flying by. Today I am on the ScrapbookPal.com Blog HERE. I created this card using Supply List:  

Avery Elle: Forest Dance Party stamp set 

Avery Elle: Forest Dance Party Elle-ments 

Avery Elle: Quilted Frame Elle-ments 

Bearly Art Precision Craft Glue 

3L Scrapbook Adhesives 3D foam strips 

3L Scrapbook Adhesives 3D Foam Squares 

Copic Sketch Markers 

Tsukineko Memento Full Size Die ink pad Tuxedo Black

All can be purchased at ScrapbookPal.com

I started with stamping out all my images and coloring with Copic Sketch markers, then die cutting using the coordinating dies. I set those aside so I can create my background.

I die cut the Avery Elle: Quilted Frame Elle-ments on a piece of designer paper, then cut a piece of acetate for the open window. I thought a shaker was appropriate for this fun card. I added the foam adhesives on the back and created my open space for the sequins. I then adhered to my card base. 

Finishing up with adhering the images and sentiment to my card. 

We all love a fun shaker card.... right?

Make sure to check out ScrapbookPal.com. They have great savings, even on some new releases. Plus fast shipping that we all love.

Thanks for stopping by.

Have a wonderful Wednesday!

Wednesday, December 1, 2021

Be Merry...

YAY! I am on the ScrapbookPal Instagram page and I am sharing a card created by all product that you can purchase at ScrapbookPal. Supply list below...

I love creating Christmas card and as you can see I always go a little non-traditional. With these cute Avery Elle critters you cant go wrong. 


Christmas Critters are for sure to bring a smile during the Holiday seasons. I have created this card by first adding two of the designer sheets from Lawn Fawn SnowDay Remix 6x6 paper pack to a piece of white card-stock using Bearly Art Precision Craft Glue. I then die cut the Lawn Fawn: Polka Heart Backdrop Portrait and added this fun background to my A2 card base.

Time to stamp these cute Avery Elle: Christmas Critters on a piece of white card-stock and color using Copic Sketch Markers. If you have the coordinating dies use those if you don’t do a little fussy cutting. Then use some Combo 3D Foam Tape to give your images a little dimension. Finishing up with stamping the sentiment on a piece of kraft card-stock and adhering to your card.

Supplies: All can be purchased at ScrapbookPal.com
Main Components Used:
Avery Elle: Christmas Critters stamp set
Avery Elle: Christmas Critters Elle-ments Dies
Lawn Fawn: SnowDay Remix 6x6 Paper Pack
Lawn Fawn: Polka Heart Backdrop Portrait Lawn Cuts
Tombo 3D Foam Tape
Bearly Art Precision Craft Glue

Make sure to follow ScrapbookPal on Instagram for more inspiration. 
Thank you for stopping by.

Have an amazing Wednesday.

Thursday, September 2, 2021

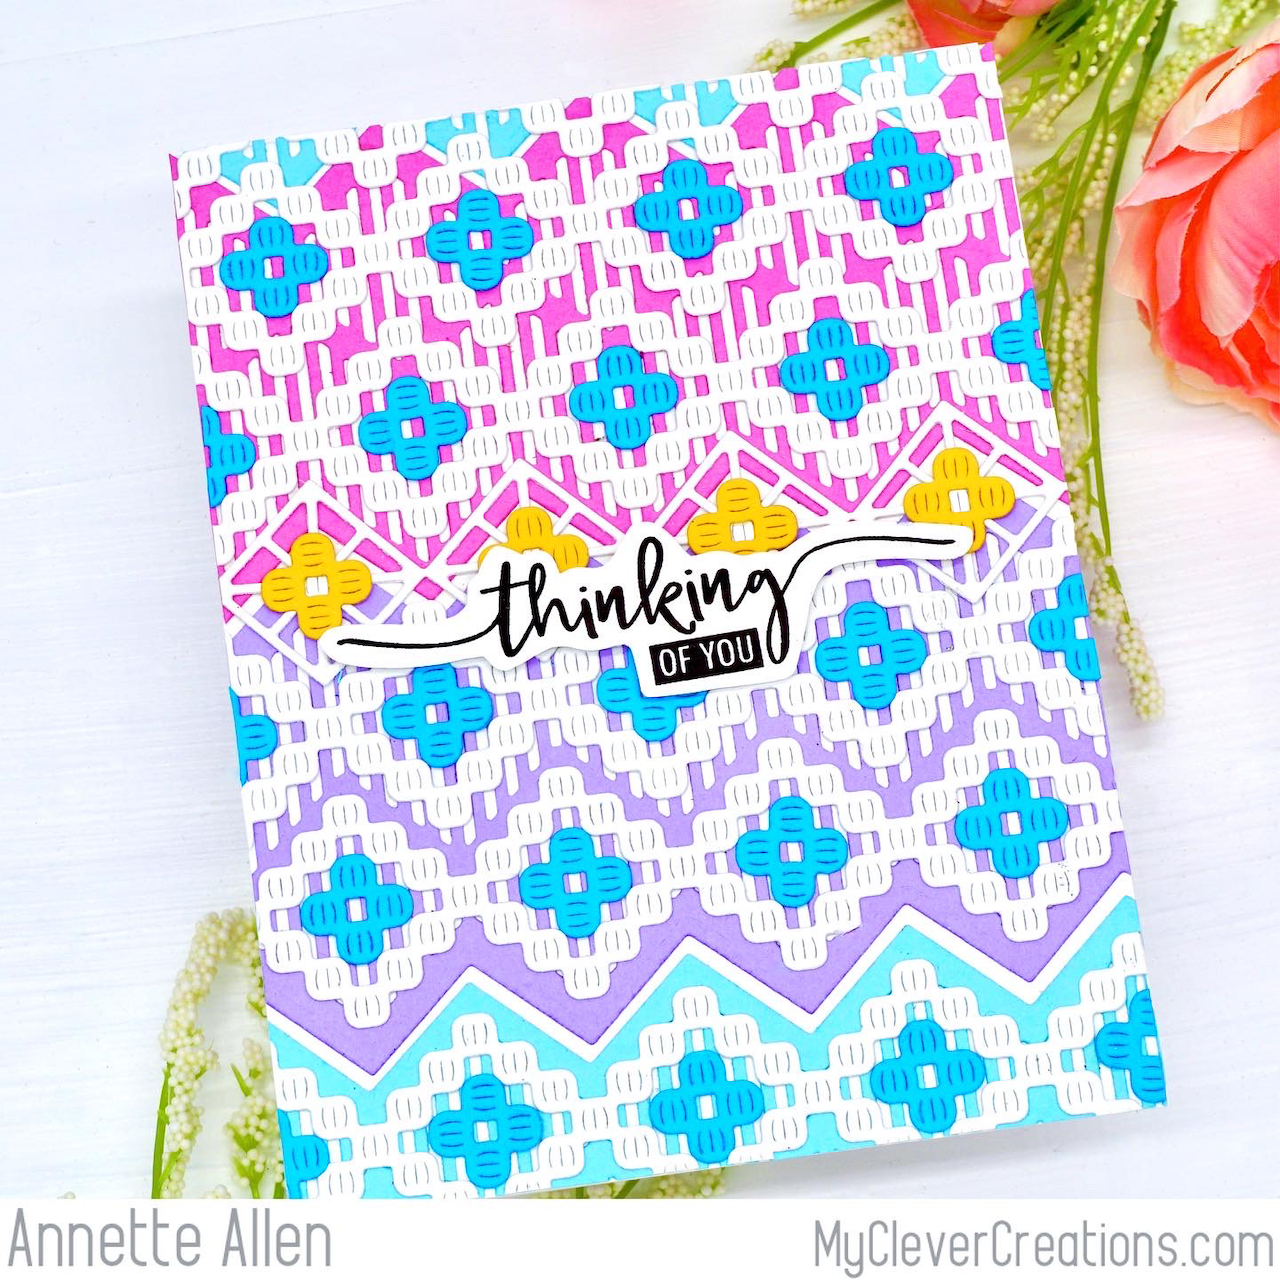
Thinking of YOU....


I am off to another late start to crafting today. But I figure it is always time to post and create.... right? Today I am sharing a card that I created using The Greetery: Macrame Openwork, Macrame Diamond and Macrame Borders and Tassels dies with Avery Elle: Loads of Wishes stamp set. 

Before I get too far, I know that you wanted to know how awesome Disneyland was... right? The weather was perfect and well we just had the best time. We walked and walked, I was so tired when we got home last night... but totally worth the fun. 

Ok, back to this card. So I had to do LOTS of die cutting as you can see. I die cut all The Greetery dies on some of The Stamp Market card-stock. They have such pretty colors in the card-stock collection. I am kind of addicted to it. 

Once I had everything die cut it was now time to adhere away. I had to use some Pixie Spray on some of the finer die cut pieces. You know when using Pixie Spray on paper to paper it acts like permanent glue. I learned that the other day and was so happy to give it a try. It works by the way... LOL

Now the only thing to do is, stamp that sentiment and fussy cut around it. I used foam adhesives for the sentiment and tada the card is done. Simple but a little time consuming.... but totally worth it. 

I am leaving with that.... I hope you enjoyed this colorful and super layered up card.

Thanks for stopping by.

Have an awesome rest of your day.

Thursday, December 3, 2020

Merry Christmas Wreath...


MORE Christmas cards.. I am on a roll and more coming soon. I am getting the use of many of my stamps and dies and I love mixing them all together. 

I created this card using Hero Arts: Paper Picado Confetti die, Avery Elle: Pup Up Wreath die, Pink and Main Sentiment Strip Dies, Pink and Main: Layered Circles dies, Lawn Fawn: Reveal Wheel Holiday Sentiments stamp set, NUVO White Crystal Drops Lawn Fawn: Let It Shine paper pad and Avery Elle: Tis The Season paper pad. 

Now that's a long list of supplies, but as you can see they are very simple to create. 


I die cut the Hero Arts dies on the designer Elle's Studio paper and adhered to my card base.


I die cut the Avery Elle Wreath with one of Pink & Main Layered Circle dies so it cut out into the circle. I adhered the wreath using foam adhesives so it gave it some dimension. Next I die cut the cute bow also included in the AE Wreath die set and glue it together and centered it onto my wreath. I then stamped out the Merry Christmas three times on plain white card-stock and die cut using Pink & Main: Sentiment Strip dies. I adhered the sentiment to the center of the bow and adhered the bow to the wreath. Finishing up with added a little NUVO white crystal dots here and there. 

That is it.... totally simple and little stamping. I let the dies do all the hard work. Another set of three Christmas card done and more to go. Wish me luck.

Thanks for stopping by.
Have an awesome day.


Friday, July 17, 2020

Swimming By To Say HI....


Well hello FRIDAY. This week went by a little slow for me but I am grateful for each day. I literally have nothing exciting to share about this past week.... hmmmm let me think. Yup, nothing exciting to report. LOL But on the bright side it is Friday and it is always fun to share cards. So today I am sharing a card that I created using Avery Elle: Monkey Sea Monkey Do stamp set and Neat & Tangled: Nexastar Stencil.


I used Ranger Oxide inks Salty Ocean and Cracked Pistachio with the stencil and then I added some pretty silver glitter card-stock at the bottom. I wanted some shine so that was my solution. The images are colored with Copic sketch markers and yes you guessed it I fussy cut the images out. I also added some white gel pen polka dots here and there. It kind of helps highlight the image.. don't you think?

Finishing up with heat embossing the sentiment on some black card-stock. It was a simple card to create. Just let these cute images do all the work. 

Thanks for stopping by.
Have a wonderful weekend.

Monday, July 6, 2020

Good Times Roll...


I am back with another card. I colored up these cuties for The Daily Marker Day 6 color challenge. I have not been doing that well keeping up but with this new week, I am going to try and do better. Coloring is always fun so it should not be so hard... RIGHT? LOL
I just got this new Avery Elle Peek-A-Poo Coaster stamp set in the mail and well just had to ink it up. My husband and I LOVE roll-a-coasters. The thrill of the fast right is so fun.


I colored the images with Copic Sketch markers and did a little fussy cutting. Again too cheap to buy the matching dies. LOL  I used some misc. designer paper to create my background. The top part is from Elle's Studio and the bottom well is pieced together with scraps, sorry I don't know who the paper is from. 

Of course I added some fun polka dots, they just make me happy. I used foam tape on the coaster cars to give it some dimension and finished up with this fun sentiment that I heat embossed on some misc. card-stock. Not a difficult card to create but totally fun... right?

That is all that I have for you today.
Thank you so much for stopping by.
Sending you all a big SMILE.

Thursday, May 7, 2020

Sweetest Friend...


Thursday is here people and it is still hot here. We have had three days now in the 80's, which is hot for So Cal. But good news we will be back in the low 70's this weekend. YAY. Now if we could just go to the beach. I am in need of sea shell searching. 

But I will just have to settle for these fun ice cream stamps. Today I created this card using Avery Elle: Sweetest stamp set and Oval Burst die set. 


I colored with Copic sketch makers and also fussy cut these cuties. Makes me want some ice cream now. I think I could eat ice cream everyday. But as you get older it is not that great for you. Which is a totally drag.. right? They should have told me that when I was a kid I would have eaten more. LOL

I used some polka dot acetate behind the ice cream. I almost created a shaker card but just realized that my shaker stuff is packed away. darn...

That is all for today.
Have an awesome Thursday... it is almost the weekend. yippee!

Sunday, April 19, 2020

Kick Back and Relax...


Happy Sunday blog friends. Today is a fine morning, the birds are chirping and the sun is shinning. I created this card on Friday but just now sharing. I was thinking about relaxing in the sun by the pool. I don't have a pool yet but maybe one day I will. I will have to settle for this Pool Party themed card for now. LOL 

I created this card using Avery Elle: Pool Party stamp set


I colored the images using Copic sketch markers and did a little fussy cutting. The background paper is one that I created using Ranger alcohol inks and water. You should know by now, that I am kind of addicted to these backgrounds. They are easy to create with. But I did add some fun black and white stripes. I think it gives a little pop on the card. What do you think?

That is all for today. Enjoy this fine Sunday and remember to smile.

Thanks for stopping by.

Monday, March 30, 2020

YIPPEE...


Happy Monday everyone.. Well this is the third week of having to stay at home. I just told my husband yesterday that it really is not that bad having to stay home. I think it makes you reflect on life and appreciate the little things. Staying healthy is the most important thing for us. God is good!

Today I created a card using Avery Elle: Easter Chicks, Sweet Swines and Market Stand stamp sets. These little pigs are too funny. 


The background paper is from Elle's Studio: Live, Laugh Love paper pad and the image are all colored with Copic sketch markers. I fussy cut them out and added them to my card using Scotch foam tape. Lots of coloring and cutting but totally worth it. 

That is all for today. 
Stay home and safe.

Thanks for stopping by.

Tuesday, March 3, 2020

Fairy Happy Day...


Well a happy hello to you all. I was working on some design team projects and well just had to take a break to make this Avery Elle card. I just got this stamp set and had to ink it up right away. 


When you think of quick cards well this is one of those. I used on of my Ranger Alcohol ink backgrounds. See how handy they are. Just pulled it from my collection and tada you have a card. I colored up these cuties with Copic Sketch markers and added some of them using Scotch foam adhesives.

I added a few of these little butterflies along with some clouds and some of my Fairy Dust. That is the little sparkle you see on the card. Totally easy to create and totally fun to color. When you have cute stamps like this they do all the hard work. 

That is all for today.
I hope you all have the most awesome day.

Thanks for stopping by.

Friday, February 14, 2020

Wonderful....


YO it is Friday. I feel like I just typed that the other day on my blog. This week went by so fast. I managed to create a card today and I created using Avery Elle: Hummberbird stamp set. Can I just say this stamp set is so pretty and totally fun to color. You could color these flowers any color and they will always be pretty.


If you follow me on Instagram you seen me post this background yesterday. I was playing with some scrap colored card-stock and all came up with this idea. Yay for pretty colored card-stock.. RIGHT?

So this card was too simple to create. Cut card-stock in strips and adhere to your card base. Color the images with Copic Sketch markers (or whatever you prefer). I once again fussy cut and adhered to my card using Scotch Foam adhesives. That simple. Do you agree?

Well you have the most amazing weekend.
Thank you so much for stopping by.

Happy Day!

Thursday, February 6, 2020

Favorite Everything...


Happy Day everyone... today I was working on some design team projects I did not think I would have time to post today but SURPRISE I was on a roll and just finished this card. 

Today I did a little masking, which I have not done in a long time. It is not perfect but hey look how cute these critters are. I created this card using Avery Elle: Peek-A-Boo Pals, Canopy and And Then stamp sets. Mixing it all up today.


I used Gina K. masking tape which I have to say I like her masking product. I have had some bad masking tape before but the Gina K. is my new favorite. 

Just stamping and lots of coloring today. All the images are colored with Copic Sketch makers. I added a little gel pen here and there but not too much. 

So there you go... stamp, color and tada you are done. 

Thanks for stopping by.
Have an awesome day because tomorrow is FRIDAY.. yippee!