Showing posts with label This Calls For Confetti. Show all posts

Tuesday, April 23, 2024

This Calls for Confetti.... Happy Birthday!


Hello sweet blog friends... This Calls for Confetti just released some new Stamp and Dies that you must check out. Today I am showcasing two of them, so let's get started.


Create card from white cardstock A2 size.

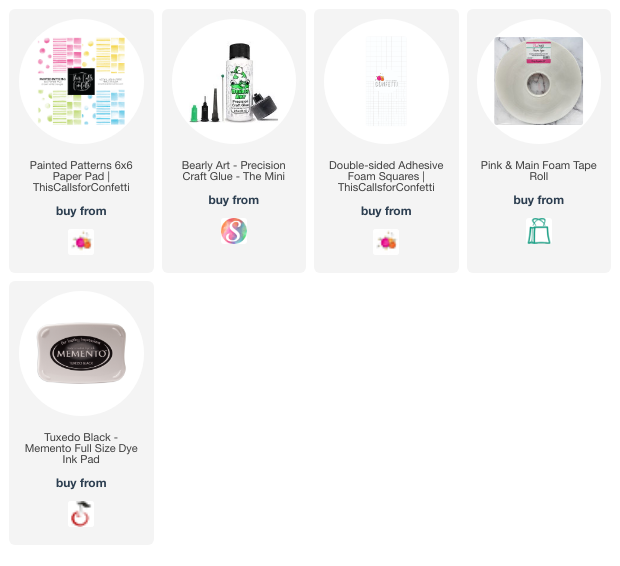
I used the NEW Happy Layering Die Set. I used the second largest rectangle to die cut one of the This Calls for Confetti Painted Patterns designer papers. Adhere this rectangle to the card base using liquid glue. 

Die cut the 4th largest rectangle on another of the This Calls for Confetti Painted Patterns designer papers and add some foam tape to the back and adhere it to your card, center it the best you can. 

I ink blended Ranger Oxide inks Festive Berries and Salvaged Patina on a piece of white cardstock. Die die cut it using the Happy Layering die set rectangles. Stamp the sentiment from the NEW Happy Sentiments stamp set using black ink. Add some foam tape to the back and adhere it to your card. 


So simple and fun with these cool Painted Patterns designer papers. Plus how much do you love this sentiment. Make sure to check it out because it is interchangeable. You could say HAPPY ..... in many ways and this set offers lots to choose from. 

Thank you for stopping by.
Have the most awesome day.
Saturday, April 20, 2024

This Calls For Confetti: Release day


Welcome friends.. Today is the This Calls for Confetti release and it is such a sweet release. I hope that you will check it out. We are also having a hop on Instagram. 


Create card from white cardstock A2 size.

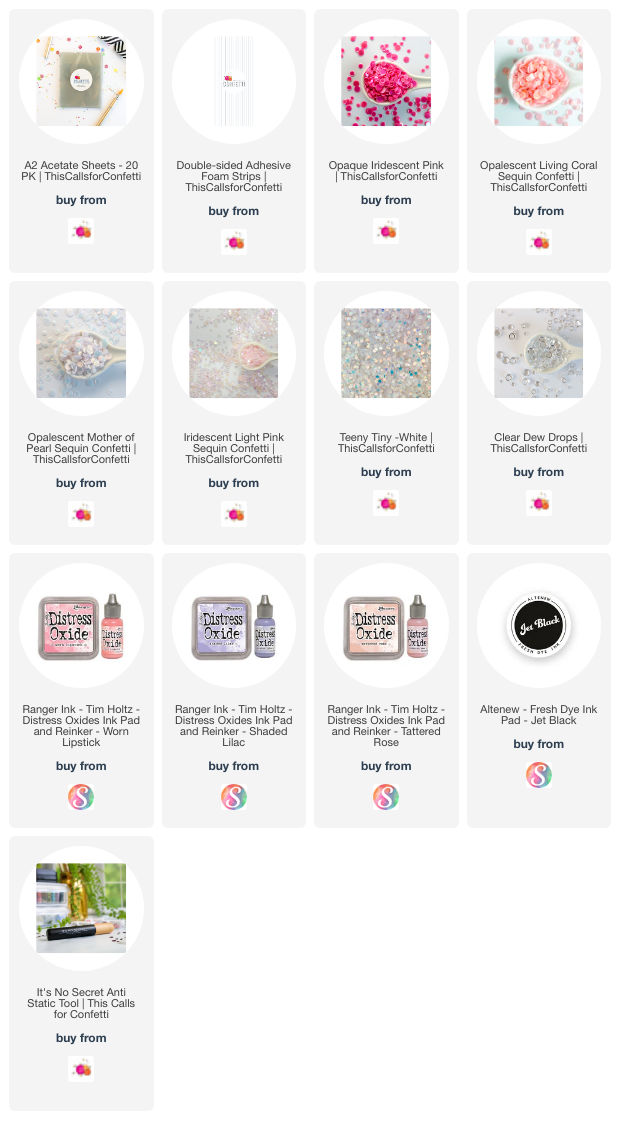
On a white panel, ink blend Ranger Oxide inks Wore Lipstick, Shaded Lilac and Tattered Rose. Splatter some Copic opaque mixed with water on your ink blended panel. Die cut the NEW Elongated Ovals A2 Cover Plate on your ink blended panel. 

Adhere a piece of This Calls for Confetti A2 Acetate Sheet using tear tape to the back of your die cut panel. Make sure to take off the protectant layer before you adhere it to your panel. 

Add some Double-sided Adhesive Foam Strips to the back of the panel on top of the acetate. Make sure to only put the strips where you can not see it on the front. This will be our shaker area. 


Peel the protectant layer on the foam tape and adhere a white panel to the back. 

Adhere your shaker panel to your card base. 

Stamp out these pretty new images from the Alices Story stamp set. For the flowers I stamped out with black ink and added a little color and for the vase I used Waffle Flower Daydreaming ink. (sorry not sold anymore so I hope you already own it because it is a great color) Die cut the images using the coordinating Honeysuckle die set. Add these pretty images to your card using foam tape.'

Stamp out the sentiments from the Alices Story stamp set on white cardstock using black ink and then die cut using the coordinating dies. Adhere to the card. 
 

Make sure to check out the entire release because it is fabulous.

Thank you so much for stopping by.

Monday, March 25, 2024

Let Your Light Shine...


Happy Monday blog friends.. I hope you all had an amazing weekend. We are just about to round up another month and headed to my favorite month of the year. April has many special days for me. But first, let me share this card with you all using This Calls For Confetti awesome products. (supplies listed below)


Create card from white cardstock A2 size.

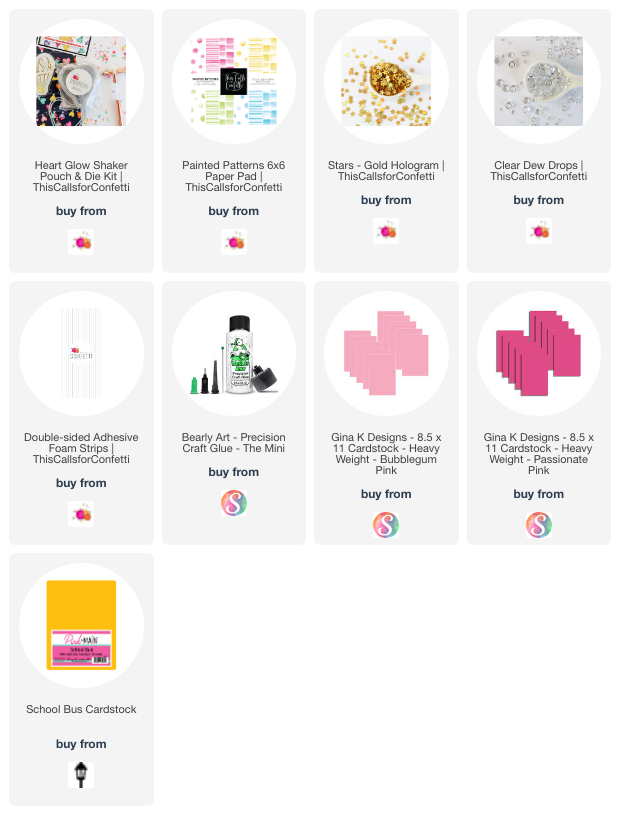
Cut an A2 panel out of the awesome Painted Patterns from This Calls for Confetti. Die cut the small Heart Glow die from the Heart Glow Shaker Pouch and Die Kit. Center the die the best you can. 

Cut three 1/2 in strips of colored cardstock. I just cut from my scrap pile and made sure they are long enough to be behind the Heart Glow die. Use the Heart Glow to help you center the strips so you can adhere them down to a white A2 card panel. Cut one of the Heart Glow sentiments and adhere it under all the colored strips. 

Add some foam tape to the back of your designer panel with the Heart Glow die cut in the center. Adhere it to your panel with the strips.

Adhere some of This Calls for Confetti Gold Hologram and Clear Dew Drops here and there using liquid glue. 


A very simple card with a special glow...


Thank you so much for stopping by.
Have a crafty fun day.

Monday, March 18, 2024

Easter Egg Hunters...


Happy day blog friends.. Today I have got Easter on my mind and I think that This Calls For Confetti has exactly what I needed with their Easter collection. 


Create card from white cardstock A2 size.

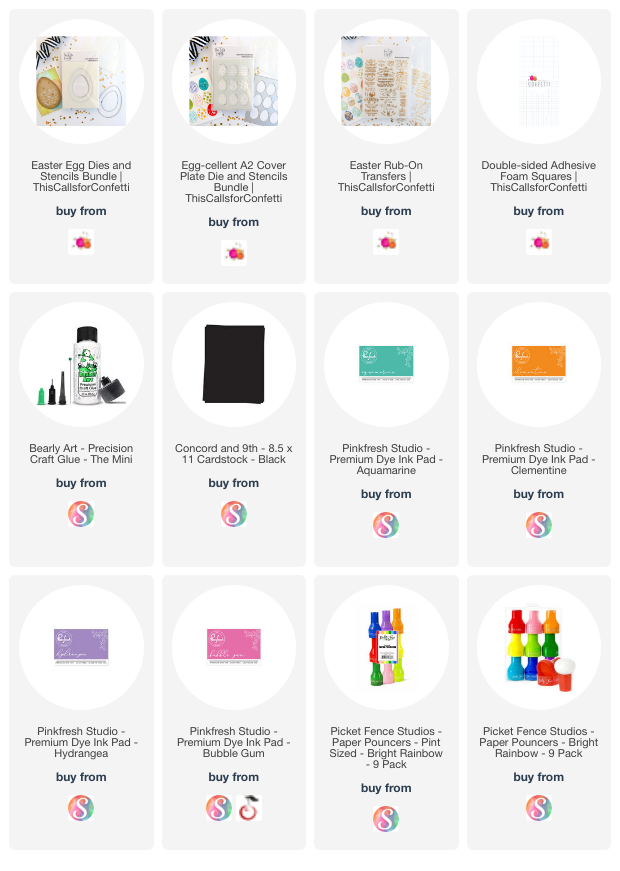
cut a plane on white cardstock A2 size and stencil these fun egg patterns using the This Calls for Confetti: Easter Eggs Plate and Stencils. Mix it up with lots of color. 

Die cut the Easter Eggs Plate on white cardstock and then ink blend more of those fun bright colors. I choose colors that blend well together and that will go with the colors of the eggs. Sprinkle a little Copic Opaque on your panel. Add some foam tape to the back and adhere it to your stenciled egg background. Try and line it up so the patterns fit into the Easter egg panel. 

Adhere your panel to your card base using liquid glue.

Die cut the large Easter Egg die on black cardstock and rub-on one of the Easter Rub-On Transfers. Add some foam tape to the back of the large Easter Egg and add it to your card. 


It is full of Easter egg fun.... don't you just love it?

Make sure to check out This Calls For Confetti HERE.

Thank you so much for stopping by.
Have a wonderful day. 

Monday, March 11, 2024

Cottontail Farms...


Welcome everyone.. It is Monday once again and I am starting out my week with a This Calls For Confetti card. I just love their Easter/Spring release. I love all the Easter egg creating going on right now. 


Create card from white cardstock A2 size.

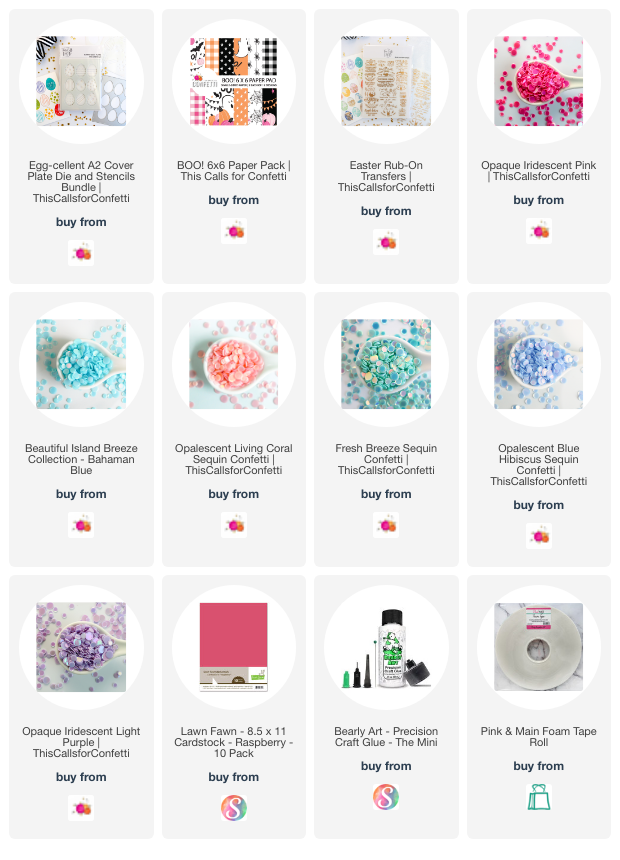
Die cut the Easter Eggs Plate on a piece of the BOO! 6x6 paper pad design paper. Yes, I am using Halloween paper, but as you can see it is a really pretty plaid design and well it is pink, so I think it is perfect for this kind of card. Get lots of use out of those paper pads. Adhere your die cut panel on your card base using liquid glue.

Pick out 6 colorful sequins to fill the spots of the eggs. I am using all This Calls For Confetti sequins colors (Opaque Iridescent Pink, Opalescent Living Coral, Fresh Breeze Sequin Confetti, Bahaman Blue, Blue Hibiscus and Iridescent Light Purple). I added liquid glue to one egg at a time and then sprinkled the sequins on. Press the sequins into the glue and move on to the next color. I filled 6 of the eggs and let dry. 

Cut a 1 1/2 x 4 1/4 pink strip. I choose a pink closest to the plaid pink. I ended up using The Stamp Market Raspberry cardstock. I picked one of the Easter Rub-On Transfers (white) and added it to the strip. Adhere your strip to your card covering the last 3 eggs using foam tape. 


This card was simple to create and I might say fun. I love sequins and look how colorful it made my card. My card has lots of dimension so you know I am happy.

That is all for this fine Monday.

Thank you so much for stopping by.

Thursday, February 29, 2024

Easter Shaker Card...


Happy end of February everyone. I am ending my month this a fun shaker card using more that NEW release from This Calls for Confetti. I will list all the items at the end of my post with directly links. So let's get started with this shaker fun....


Create card from white cardstock A2 size.

Cut a panel on white cardstock A2 size and stencil this amazing NEW For The Love of Carrots Layering Stencil. Use bright colors that remind you of spring. I will list the colors below. 

Before I do anything with the sequins I will put some of the It's No Secret Anti-Static Powder on my panel. Just rub the powder all over your card panel. 

Use one of the Full Front Shaker Pockets and fold all the edges before you do anything. This will help when you are ready to put the shaker together. 

Slide your panel in the back of the Full Front Shaker Pocket and adhere ONLY 3 of the edges by peeling the protectant film off. With one side being open know is when you want to fill your shaker with all those pretty sequins. I went totally PINK with mine. With all your shaker bits inside the pocket go ahead and seal it up. 

Adhere your shaker to your card base using tear tape. 

Die cut the small circle die from the 3 1/2 Full Front Shaker Card Pockets Shaker Kit. 

Pick one of the fun Easter Rub-On Transfers and rub it onto the circle. 

Take that one stencil from the The Love of Carrots Layering Stencil and add a little color in your circle. This will help blend the background with the sentiment when it comes to color. 

Add some foam tape to the back of your circle sentiment and adhere to your card. 


A fun Easter Shaker to end the month...

Thank you for stopping by.
Have a wonderful day.

Monday, February 19, 2024

Easter Egg Hunters...


Happy Monday blog friends... With Easter right around the corner I have the hottest new Easter release to share with you today. This Calls for Confetti just released two paper pads, stencils, dies and must more. Make sure to check out all the new Easter goodies HERE

Supplies listed below with links....


Create card from white cardstock A2 size.

Cut a panel on white cardstock A2 size. 

Cut some strips out of the NEW Speckled 6x6 paper pad different sizes and adhere them to the top part of your white panel using liquid glue. Only go half way down. 

Cut a panel A2 size out of the Speckled 6x6 paper pad and die cut the large Easter egg from the NEW Easter Egg Dies and Stencil set. Center the large egg die on the panel and die cut it. 

Use one of the convenient already A2 size Acetate sheets and adhere it to the back of your panel with the die cut egg on it. I used tear tape to adhere it because it is cleaner than liquid glue.  

Choose one of the NEW Easter Rub-On Transfers and stick it to the top of your acetate in the center of the egg. Be careful trying to center it, not to touch until you are ready because it sticks to the acetate very easily. Rub it on with the tool provided in the package and peel to see the awesomeness. 

Add some foam tape to the back of your egg panel and adhere it to your panel with the strips of designer paper. 

Add liquid glue to the back of the panel and add it to your card base. 


A very simple and pretty card.... don't you think? I just love ALL the Easter goodies released by This Calls for Confetti. You can see them all HERE

Thank you all for stopping by.
Have a wonderful day.
 

Saturday, January 20, 2024

LOVE YOU Shaker Card...


Well Happy Saturday to you all. Yes, for the weekend and YES to another fun shaker card. I told you that I was going to creating lots of these. I love creating them and I love the new This Calls for Confetti LOVE paper pad. I have so many fun ideas plus I get to use all these fun shaker bits. So let's get started.


Create card from white cardstock A2 size.

Die cut the LOVE design paper out using a decorative die cut. I used Avery Elle Quilted Frame die. 

Cut a piece bigger then the center opening of your background of the Acetate and peel off the protectant layer. You can use a piece of tape in the corner of the acetate to help peel the protectant sheet. Adhere the acetate using tear tape on the back of the opening of your background. Now add some Double-sided Adhesives Foam Strips around the oval on the back side. Use your It's No Secret Anti Static Powder tool to rub along the foam tape before peeling the protectant layer. This will help the sequins and filler from sticking to the foam tape. 

I cut out three of the message bubbles from the same designer paper and added them inside the opening of the shaker. Now add all your fun shaker bits Love Mix, Tiny White, Iridescent Light Pink and Opaque Iridescent Scarlet. Once you are happy with the filling, peel the foam tape protectant layer off and adhere a panel of white cardstock to your shaker to close it up. 

Trim the LOVE YOU sentiments from the designer paper in the LOVE 6x6 paper pad. Adhere the sentiment to your shaker window.

To finishing adhere your fun shaker background to your card base using liquid glue. 


I hope you are loving all my shaker cards. They are so fun to create and really this paper pad is just amazing. You can check out all the fun products on the This Calls for Confetti HERE

Thank you so much for stopping by.

Have a wonderful weekend!

Monday, January 15, 2024

Valentines Love You...


Happy Monday everyone. Today and I am sharing more LOVE with the new This Calls for Confetti LOVE 6x6 Paper Pad. The fun thing about this card is you can use any small heart die to fill your background and you know lately I am all about the hearts. 

Card designed using This Calls for Confetti

Create card from white cardstock A2 size.

Die cut small decorative hearts on the LOVE 6x6 Paper Pad. Die cut enough to fill your card base. Adhere the hearts using liquid glue. I lined mine up, but you can add them however you want as long as you fill your card base.

I picked out the circle hearts from the Love Polymer Clay Mix and adhere them in the open space between the hearts. I also added a few of those pretty Teeny Tiny White sequins for a little shine. They are iridescent so it reflects the light as you can see on my card some look blue, but they are clear iridescent.

I cut 4 strips of colored cardstock, 2 pink and 2 red. I also die cut one strip on the same designer paper I cut the hearts out of. Adhere the strips at an angle on the card using liquid glue. Rotate the pink and red and then adhere the designer paper strip on top and in the center of the colored strips.

Use a large sentiment to complete your card. I went with I Love You, just because of all the hearts. Adhere your sentiment to the card using Double-sided Adhesive Foam Rounds. I always need a little dimension on my card and the sentiment is usually where I put it.
 

Have you started creating your Valentines cards yet? Don't forget to check out all the fun LOVe themed items at This Calls for Confetti HERE

Thank you for stopping by.
Have a wonderful Monday!

Monday, January 8, 2024

Shaker Hearts...


Happy Monday blog friends... today I am doing something new and that is I am taking part as one of the new Content Creators for This Calls for Confetti. I am so excited because I love creating shaker cards and this new company is already growing with much much more than just shakers.  Please make sure to check out their online store HERE.

Today I am sharing a fun LOVE shaker card that I created using:


Create card from white cardstock A2 size.

Die cut from the Heart Shaker Pouches Starter Kit the large heart on the LOVE 6x6 Paper Pad. Set them aside until we adhere them to our shakers.

Choose a piece of the designer paper from the new LOVE 6x6 Paper Pad and trim down to create an A2 panel. You can also use a decorative die to cut your A2 panel like I did. Take the small heart die from the Heart Shaker Pouches Starter Kit and plan how you will die cut three hearts out on your panel.

Add some adhesive to the back but only on around the edges of the heart and adhere the heart pouches from the Heart Shaker Pouches Starter Kit. Now add some of those fun Sending Love Polymer Clay Mix, Opaque Iridescent Blush, Opaque Iridescent Scarlet. Mix a little of each into each heart and them pill the adhesives protector that comes on the heart pouch and adhere the die cut hearts that we die cut in the beginning. Show those fun patterns in your shakers.

Add some liquid glue to the back of your shaker and adhere it to your card base.

I die cut the Love You sentiment from some misc. dies and adhere them to my card and finished the card with more of those fun Opaque Iridescent Pink sequins.

I can't wait to share more with you from This Calls for Confetti. Follow them on Instagram HERE for more inspiration.

Before I forget.. they are having a winter sale.. Check out all the fun sale items HERE.

Have a fantastic Monday.

Thank you so much for stopping by.

Wednesday, November 29, 2023

Dear Santa Shaker...


Happy Wednesday everyone. How are you all doing? I hope you all have your Christmas trees up and lighting up your home. It is such a wonderful thing... right? 

Today I am getting crafty with This Calls for Confetti:
Have you all been to the This Calls for Confetti Website HERE yet? What are you waiting for? Click on the link and check out this new company. They have so many fun new products and it is not just sequins. It is growing with all the things we love to crafty with. Check it out...


Create card from white cardstock A2 size.

Cut a panel A2 size on white cardstock. Now cut 1' inch strips using the Christmas Post 6x6 Paper Pad. There are 12 designs pick like four and cut three strips of each. Now adhere those strips using liquid glue. Trim down your panel to 4 x 5 1/4 and adhere it to your card base. Make sure to center it the best you can. 

Die cut the large circle from the 3 1/2 Full Front Shaker Card Pockets Starter Kit on another piece of that fun Christmas Post designer paper and add one of the  3 1/2 Full Front Shaker Card Pockets. Make sure to peel the protectant layer. Adhere down using tear tape BUT leave a few open so you can fill the circle with  some of the Prism SnowflakeStar Silver Confetti and Clear Dew Drops. Add as much or little that you like. Now adhere it to your card using double sided tape. I have full sheets of double sided tape do I just die cut the circle out again and adhere it to the back and pressed it firmly and peel and stick to card. 

Die cut the small circle die from the 3 1/2 Full Front Shaker Card Pockets Starter Kit on another piece of that fun Christmas Post designer paper. Add some foam tape to the back and adhere it the center of your shaker circle.

Fussy cut these fun stamp images from the designer paper from the Christmas Post paper pad. Cut three and adhere them to the center circle using liquid glue.

Use the designer paper from the Christmas Post paper pad that has Dear Santa over and over. Trim down the sentiment and add some Double Sided Adhesive Foam Strips to the back and adhere it to your card. 


There you go a fun shaker card and it is full of fun patterns from the Christmas Post paper pad. I just love all these designs in this paper pad. I might have to check out the other paper pads that This Calls for Confetti has to offer.

Thank you so much for stopping by.

Have a wonderful Wednesday.

Monday, November 20, 2023

Christmas Cheer...


Happy Monday everyone. I am starting out my week with another fun shaker that I created using This Calls for Confetti. I LOVE the new Fa La La die and well I just can't get enough. So I created another card but in a different way.


Create card from white cardstock A2 size.

Cut a panel A2 size on white cardstock.

Pick some pinks, purple, green and red inks and use the Picket Fence Studios Pouncers. Start with one color at a time. Press the pouncer in the ink and then press it directly onto your white panel.  Do not roll around just press down and it will create a circle with the ink. Create a colorful background. 

Sprinkle Copic Opaque mixed with water on your colorful backgound.

Die cut the center of the card using the small square metal die that comes with the Square Shaker Pouch & Dies Starter Kit. Keep the die cut piece because we are going to use it as our background in the shaker.

Die cut the larger square from the Square Shaker Pouch & Dies Starter Kit and adhere the die cut small square onto the center of the large square.

Use some tear tape to adhere the Square Shaker Pouch to your colorful background. Put the tear tape around the die cut square on the back of the colorful background. Peel the protectant part and adhere the Square Shaker Pouch


Die cut the Fa La La metal die on white cardstock. Adhere the LA to the center of the square we are using for our shaker.  Now peel the protectant part of the adhesive on the Square Shaker Pouch and adhere your square background and enclose the shaker. Press firmly to the adhesive sticks.

Die cut the Fa La La again on Green, Purple, Pink and Red cardstock. Sprinkle with a little Copic Opaque and let dry. Once dry add some quick drying glue to the top of each letter and sparkle with some super fine glitter. Let dry completely and brush off access. 

Adhere the colorful Fa La La to the white Fa La La (this gives the letters a little dimension) and then adhere them to the card around the shaker.

Cut one of the Christmas Sentiment Strips and add it to your card. 


I love the shaker collections from This Calls for Confetti, it sure does make it easy to create shaker cards. So make sure to check out This Calls for Confetti online store. It is a new company and I know we all love to support new company startups.

Thank you for stopping by.

Have a wonderful and colorful day.

Monday, November 13, 2023

Fa La La...


It is time to shake it up with this fun new company named This Calls For Confetti.  Lots of fun shaker bits, dies, designer paper and much much more. The prices are great and so much to choose from. 

Today I am getting my shaker on with This Calls For Confetti:

Create card from white cardstock A2 size.

Cut a panel A2 size from the Christmas Post 6x6 Paper Pad. Take out one of the Full Front Shaker Pockets and fold the edges. Place your designer paper to the back of the Full Front Shaker Pocket (the back is easy to tell because you will see the protectant layer on the front. Once you have seen which side is the back you will want to remove the protectant layer. Now line up your panel and start with one edge and peel the adhesive protector one at a time. Only adhere three of them leaving the card open so you can fill the inside with this fun Christmas Post Mix. Add as many of the Christmas Post Mix as you like and then seal up the last flap. Now we have a shaker.... yay!

These Full Front Shaker Pockets make it so easy to create a full shaker card.

Add some Scor-Tape .025 Inch Double-side Crafting Tape to your card base. Peel the protection layer and adhere the shaker to your card base.

Die cut the Fa La La Metal Die on some of that fun Christmas Post designer paper. I went with two of the patterns for mine but you really can go wild with all the patterns in this collection.

Add some Scor-Tape to the back of the letters. You will not use all the die cut letters because we are rotating the patterns when placing on our card. Center them as best as you can before adhering them to your shaker front.

No stamping with these fun Christmas Sentiment Strips, just trim down the sentiment of your choice and adhere it using Double-sided Adhesive Foam Strips to give a little dimension. 

Finishing with a few of those fun greenery twigs from the Christmas Post Mix, that I adhered using liquid glue.


As I sing Fa La La.... my shaker card is done. Make sure to check out this new company This Calls For Confetti because I know you will find something fun.

Thank you so much for stopping by.

Have a wonderful and awesome Monday!