

Happy Hello blog friends... I thought that my Christmas card making was done but with so many cute stamps I just can't resist. Today I am getting crafty with Taylored Expressions...
- Santa & Friends stamp set
- Calendar Kit Stencils
- Joyful Season stamp/die set
- Blooming Holiday Cutting Plate
Create card base from white cardstock A2 size.
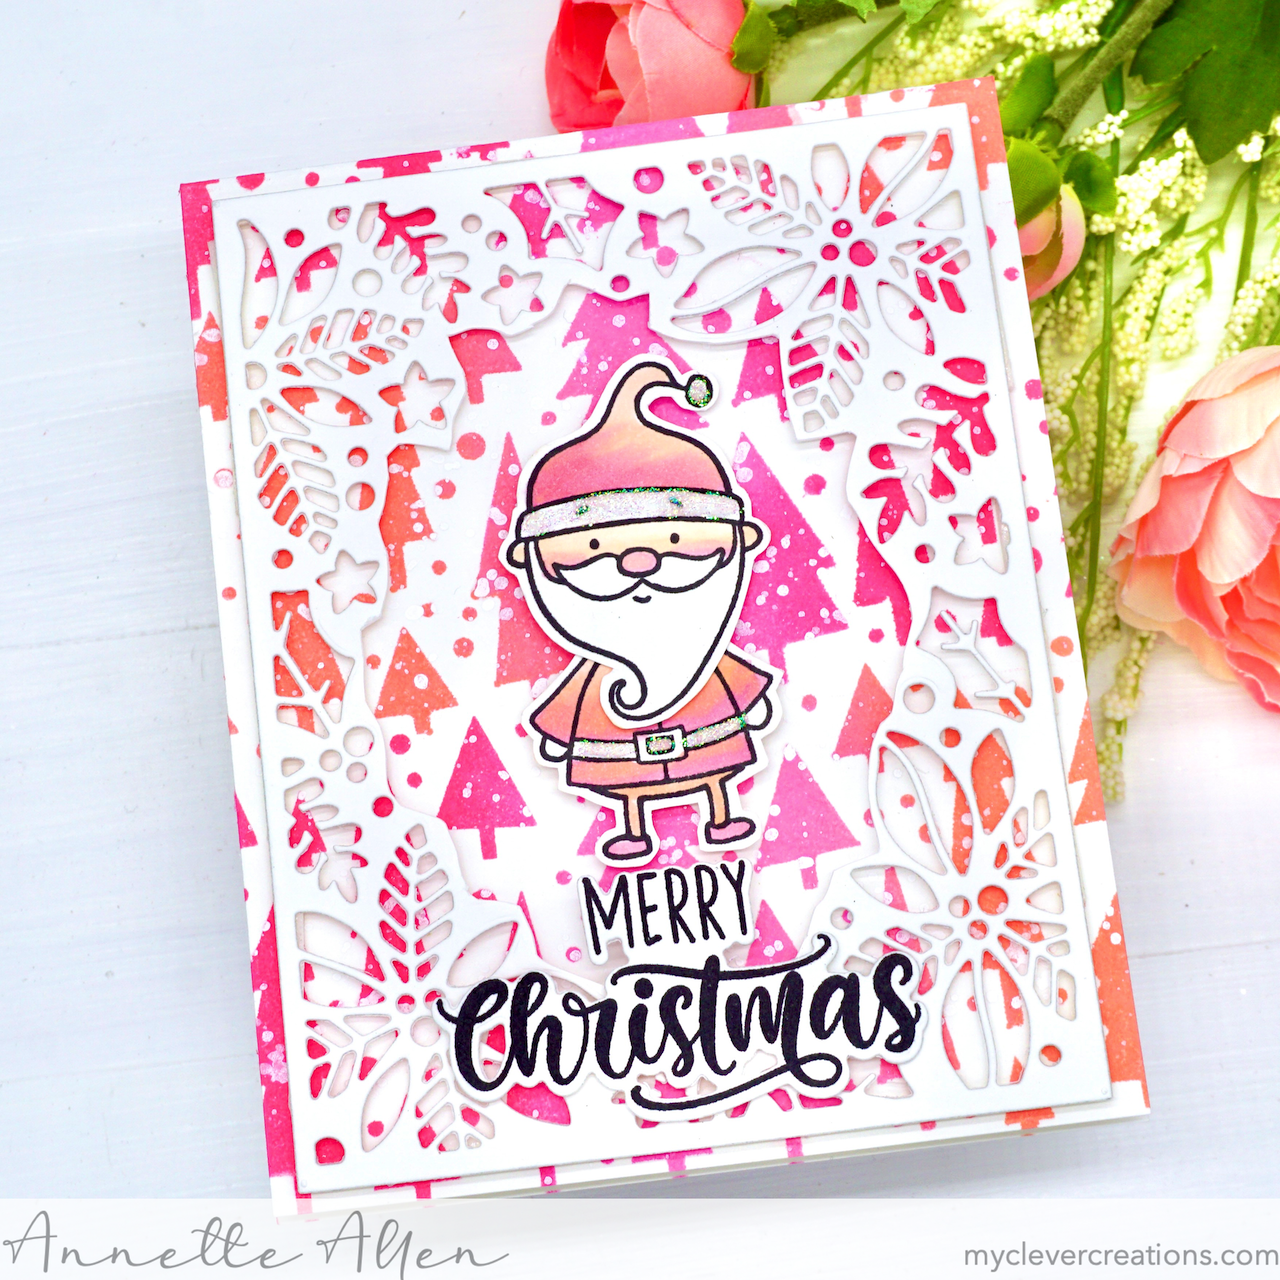
Use the tree stencil scene from the Calendar Kit stencil collection. This stencil is only 3' tall so I had to use it three times to cover my card base.
Using Copic Opaque and water, I sprinkled a little or a lot on my stenciled background. This gives the snow fall look.
I die cut the Blooming Holiday Cutting Plate on white cardstock and added to my card base using foam tape.
I stamped the Santa image from the Santa & Friends stamp set, color the image using Copic Sketch markers and die cut using the coordinating dies. If you do not have the coordinating dies you can do a little fussy cutting like I did.
Adhere Santa to the card also using foam adhesives.
For a little shine I added some Ranger Stickles Crystal to the hat and belt of Santa. Make sure to let dry completely.
Finishing up with stamping out the Merry Christmas sentiment on white cardstock and die cutting using the coordinating dies.
Adhere the sentiment to the card using foam adhesives.

Lots of dimension and all of my favorite colors. I might add that this card is super easy to create. Not much coloring and a whole lot of fun stenciling.
Thank you for stopping by.
Have a fantastic day!
This is as cute as it can be!!
ReplyDeleteGreat use of background die over the stenciled colors. Very pleasing and eye-catching!
ReplyDelete