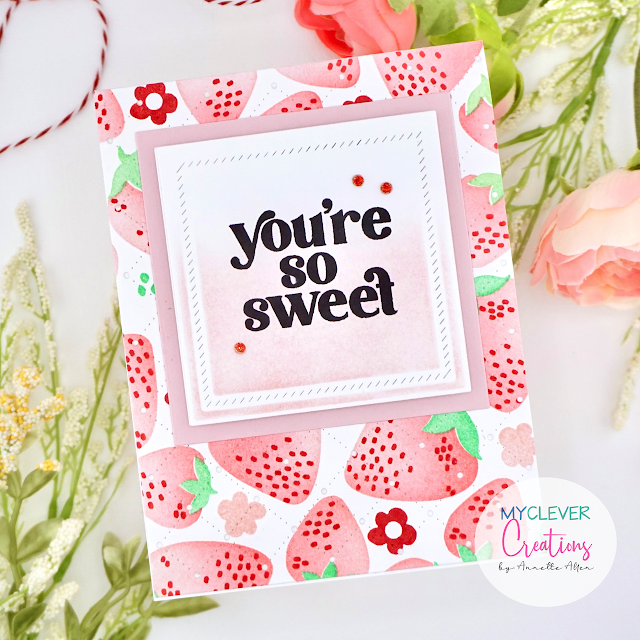
Nothing like a card full of strawberries... right? I have been seeing all the strawberry stands going up again and well made me think of this stencil set that I have from Taylored Expressions. SO.... let's get to it.
Supplies used:
- Taylored Expressions: Berry Sweet Stencil/Stamp combo
- TE: Pierced Lattice Cutting Plate
- TE: Square Tear-off Calendar Stacklets
- Pinkfresh Studio: Meadow, Cherry Blossom and Berrylicious Inks
Create card from white cardstock A2 size.
Cut an A2 panel on white cardstock and stencil this fun Berry Sweet stencil on it using the inks I have listed above. This is a layering stencil so very easy to use. The added spots and flowers are from the clear stamp set that the Berry Sweet set comes with. Fill your space with this set.
Die cut the stenciled background using the Pierced Lattice Cutting Plate. Now adhere the panel to your card base using liquid glue.
Die cut the large square from the Square Tear-off Calendar Stacklets on light pink cardstock.
Die cut the small square from the Square Tear-off Calendar Stacklets on white cardstock and then with the small square that is the texture your see on my square, run it though your die cut machine again to get this textured inner edge. If you keep the dies in place you can brush on a little ink on the lower half of the square. If you look close your will see where the die laid it is still white, the die acts as a mask.
Stamp your sentiment from the Berry Sweet stamp set using black ink onto your white square. Add some foam tape to the back and adhere it to your pink square.
Add some liquid glue to the back of the pink square and add it to your card.
Finishing off with a few of those fun Red Glittered Drops from TE.
A very simple card to create, because I know we all like simple sometimes.
Thank you so much for stopping by.
Have a wonderful Friday.


Love the soft colors, this is cute!
ReplyDelete