

Happy hello blog friends.. yay! it is Thursday, so close to the the weekend. I am so ready for it. I hope it does not rain. It has been raining here every weekend for a month now. I'm over it.. LOL But the good thing is I always have crafting to keep me busy when it rains.
I just finished this last night and well am sharing now today. I always love a good floral card and well Pinkfresh Studio has such a great collection of floral stamps with coordinating stencils. I did not coloring by hand here it is all ink blending with the layered stencils. I love those kind of sets. Let's get started....

Create card from white cardstock A2 size.
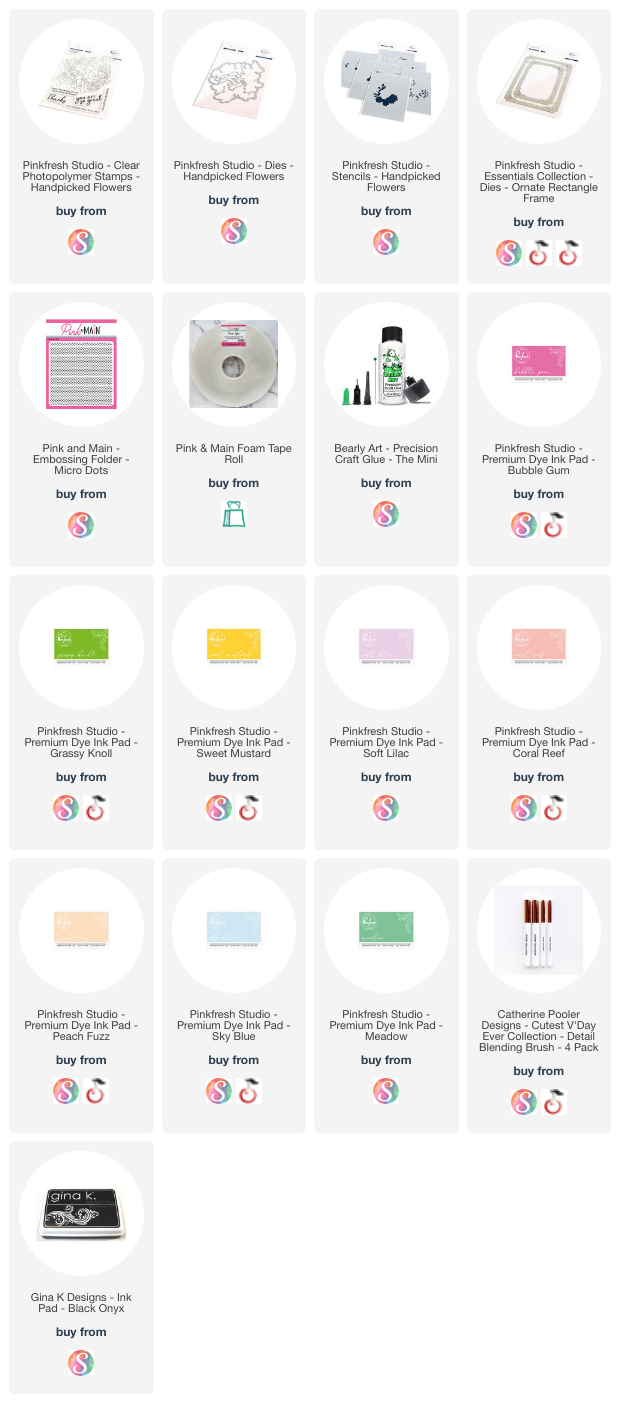
Cut a panel out of green/yellow cardstock and emboss with a polka dot embossing folder. I fused the Pink & Main Micro Dots 6x6 Embossing folder. Adhere your embossed background to your card base using liquid glue.
Die cut the Ornate Rectangle Frames on white cardstock. I used both of the dies and took out the center piece and adhere to my background using foam strips. (link below)
I stamped the Pinkfresh Studio Handpicked Flowers on white cardstock using black ink. Use the coordinating Handpicked Flowers layering stencils to add the color. I used Pinkfresh Studio inks (listed below). Die cut the image using the coordinating Handpicked Flowers die. Add some foam tape to the back of the Handpicked Flowers image and adhere it to the center of the card.
Stamp the sentiment from the Handpicked Flowers stamp set on white cardstock using black ink and die cut using the coordinating dies and add some foam tape to the back and adhere it to your card.

So I would say this is not a typical color I would normally use for a background... but I kinda like it... what do you think?
Thank you for stopping by.
Have a blessed day!
Your framing and layering just draws you right in! Pretty card, Annette!
ReplyDelete