

Welcome everyone..
I am so excited to be guest designing for Pretty Pink Posh.
This blog hop is full of SPRING fun.
Release is available as of March 6th so make sure to check it out but first hop along for a chance to win one of the $30 gift certificates to Pretty Pink Posh. There are 3 GC (one winner each day)
There is a different hop each day started on the 6th, 7th and you are here today.
(winners will be picked randomly along the hop and comments must be left by 11:59)

Create card from white cardstock A2 size.
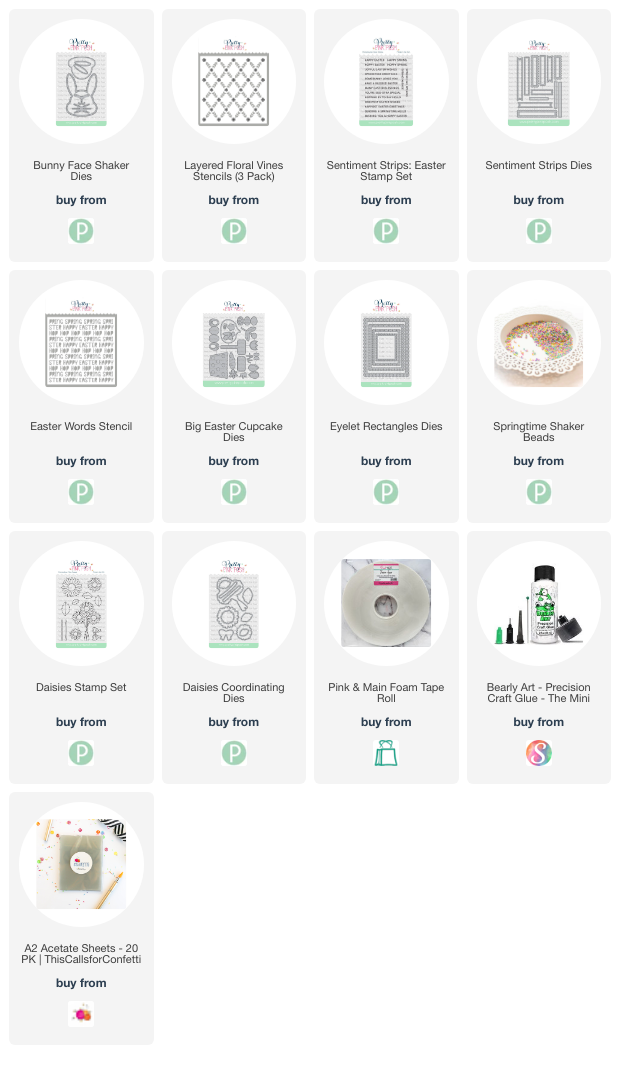
Cut a panel on white cardstock A2 size and stencil the new Layered Floral Vines using colors that you love. I went with a green and purple ink and for the last stencil that adds the center of the flower I added embossing ink and heat embossed gold embossing powder. Adhere your panel to your card base using liquid glue.
Die cut this adorable new Bunny Face Shaker on white cardstock for the front, back and those cute whiskers. Die cut the ears and nose on pink cardstock and the cute little smile on grey cardstock. Die cut the bunny again on acetate.
Adhere the acetate to the front of the open face bunny using tear tape. I die cut a sheet of foam tape with the open face so it fits perfectly behind the bunny without seeing the lines of the foam tape. You can also just place the foam tape all around the shaker part of the bunny on the back, just make sure you have no gaps. Fill the bunny shaker with the new Springtime Shaker Beads. Peel the protectant layer of the foam tape and adhere the solid white die cut bunny to the back to close up your bunny shaker.
Time to decorate the cute bunny. Adhere the ears, nose, whiskers and mouth. I left off the eyes but you can add them if you like. Add more foam tape to the back of the bunny shaker and adhere it to your pretty Layered Floral Vine background.
Stamp the sentiment from the new Sentiment Strips Easter stamp set on white cardstock and die cut it using one of the Sentiment Strips dies. Add a little more color to your sentiment using the decorative scalloped Sentiment Strips die. Adhere them together and then add to your card.

How much are you loving this adorable bunny?

Create cards from white cardstock A2 size.
Cut a panel on white cardstock A2 size and stencil this fun new Easter Word Stencil using purple, pink, yellow, green and teal. Make it colorful and full of spring colors.
Die cut the Easter Word stenciled background using the largest Eyelet Rectangles die. Add some foam tape to the back and adhere it to your card base. Try and center it the best you can.
Die cut all the big Easter Cupcake dies on colored cardstock. Pick colors that go with your background. Depending on your scene you might have to die cut some of the images many times. I started with the cupcake and worked my scene from there. I used foam tape and liquid glue depending on how the image sits with the others. Dimension is a good thing with layering images.
I added some of the little flowers to the cupcake and for the centers I used some of those new Springtime Shaker Beads. They are small but I got them on.

LOTS of Spring going on here...

Create card from white cardstock A2 size.
Cut a panel on white cardstock A2 size and stamp the large flower from the new Daisies stamp set using black ink. Fill your background and then adhere the panel to your card base using liquid glue.
Stamp the Daisies bouquet, leaves and bow on white cardstock using black ink. Color the images using your favorite medium. Die cut the images using the coordinating Daisies dies.
Die cut the second largest Eyelet Rectangle on vellum.
Add some foam tape to the back of your Daisies bouquet and adhere it to the center of the vellum Eyelet Rectangle. Adhere the leaves using liquid glue and add the bow using foam tape. Flip the vellum over and only put foam tape where you see the flower, this keeps from seeing any adhesive on the vellum when we adhere it to your Daisies panel.
Stamp the sentiment from the Sentiment Strips Easter stamp set using embossing ink and heat emboss with white embossing powder on green cardstock. Die cut the sentiment with one of the Sentiment Strips dies. Die cut the Sentiment strips decorative strip on white cardstock and adhere them together. Now add the sentiment to the card.
I added some fine white glitter to the center of the flowers... but I know that is hard to see in the photo. oops...

LOTS of Spring time fun with this Pretty Pink Posh release.
Make sure to hop along to each of the blog listed below and comment for a chance to win.
Annette Allen you are here
Next → Zsofia Molnar
Thank you so much for hopping along today.
Have a wonderful day!
The flowery vines are so cute!!!!!
ReplyDeleteLOVE the colors on your floral card! Great shaker card with that sweet bunny die! Thanks for sharing!
ReplyDeleteThese are DARLING! I LOVE the stenciling and bunny shaker!
ReplyDeleteSuch a darling bunny shaker card. Love the colors of the sprinkles.
ReplyDeleteI like the colorful bits in your shaker card and pretty backgrounds.
ReplyDeleteYAY annette, such CUTE projects!
ReplyDeleteI love the bunny shaker card!
ReplyDeleteThanks for sharing.
These are so cute! Love the flower card!
ReplyDeletelove your black and white daisy base!
ReplyDeleteWonderful cards! Love the pretty stenciling behind your adorable bunny shaker! Sweet cards with the tulips and the daisies too! Great designs in this release!
ReplyDeleteAdorable spring cards!
ReplyDeleteCongrats on guesting, Annette! Your cards are all delightful. The bunny shaker is exceptionally cute!
ReplyDeleteI love your cards Annette!! Especially your shaker card!!!
ReplyDeleteThese are so cute. Love your shaker card!
ReplyDeleteYour backgrounds are amazing. Love your projects!!
ReplyDeleteCute designs! I love the daisy stamped background!
ReplyDeleteCute and pretty Spring cards.
ReplyDeleteAll 3 of your cards are lovely!! Super creative work!!
ReplyDeleteThese are superb, esp the bunny shaker! Great work!
ReplyDeleteLori S in PA
Love the bunny shaker on that pretty background - love the colours and details
ReplyDeleteAll your cards are amazing!! I love the bunny shaker with the colored beads!!
ReplyDeleteBeautiful cards! Love all of the backgrounds!
ReplyDeleteLove the bunny!
ReplyDelete