Showing posts sorted by date for query reverse confetti. Sort by relevance Show all posts

Thursday, September 26, 2024

Winter Wonderland...


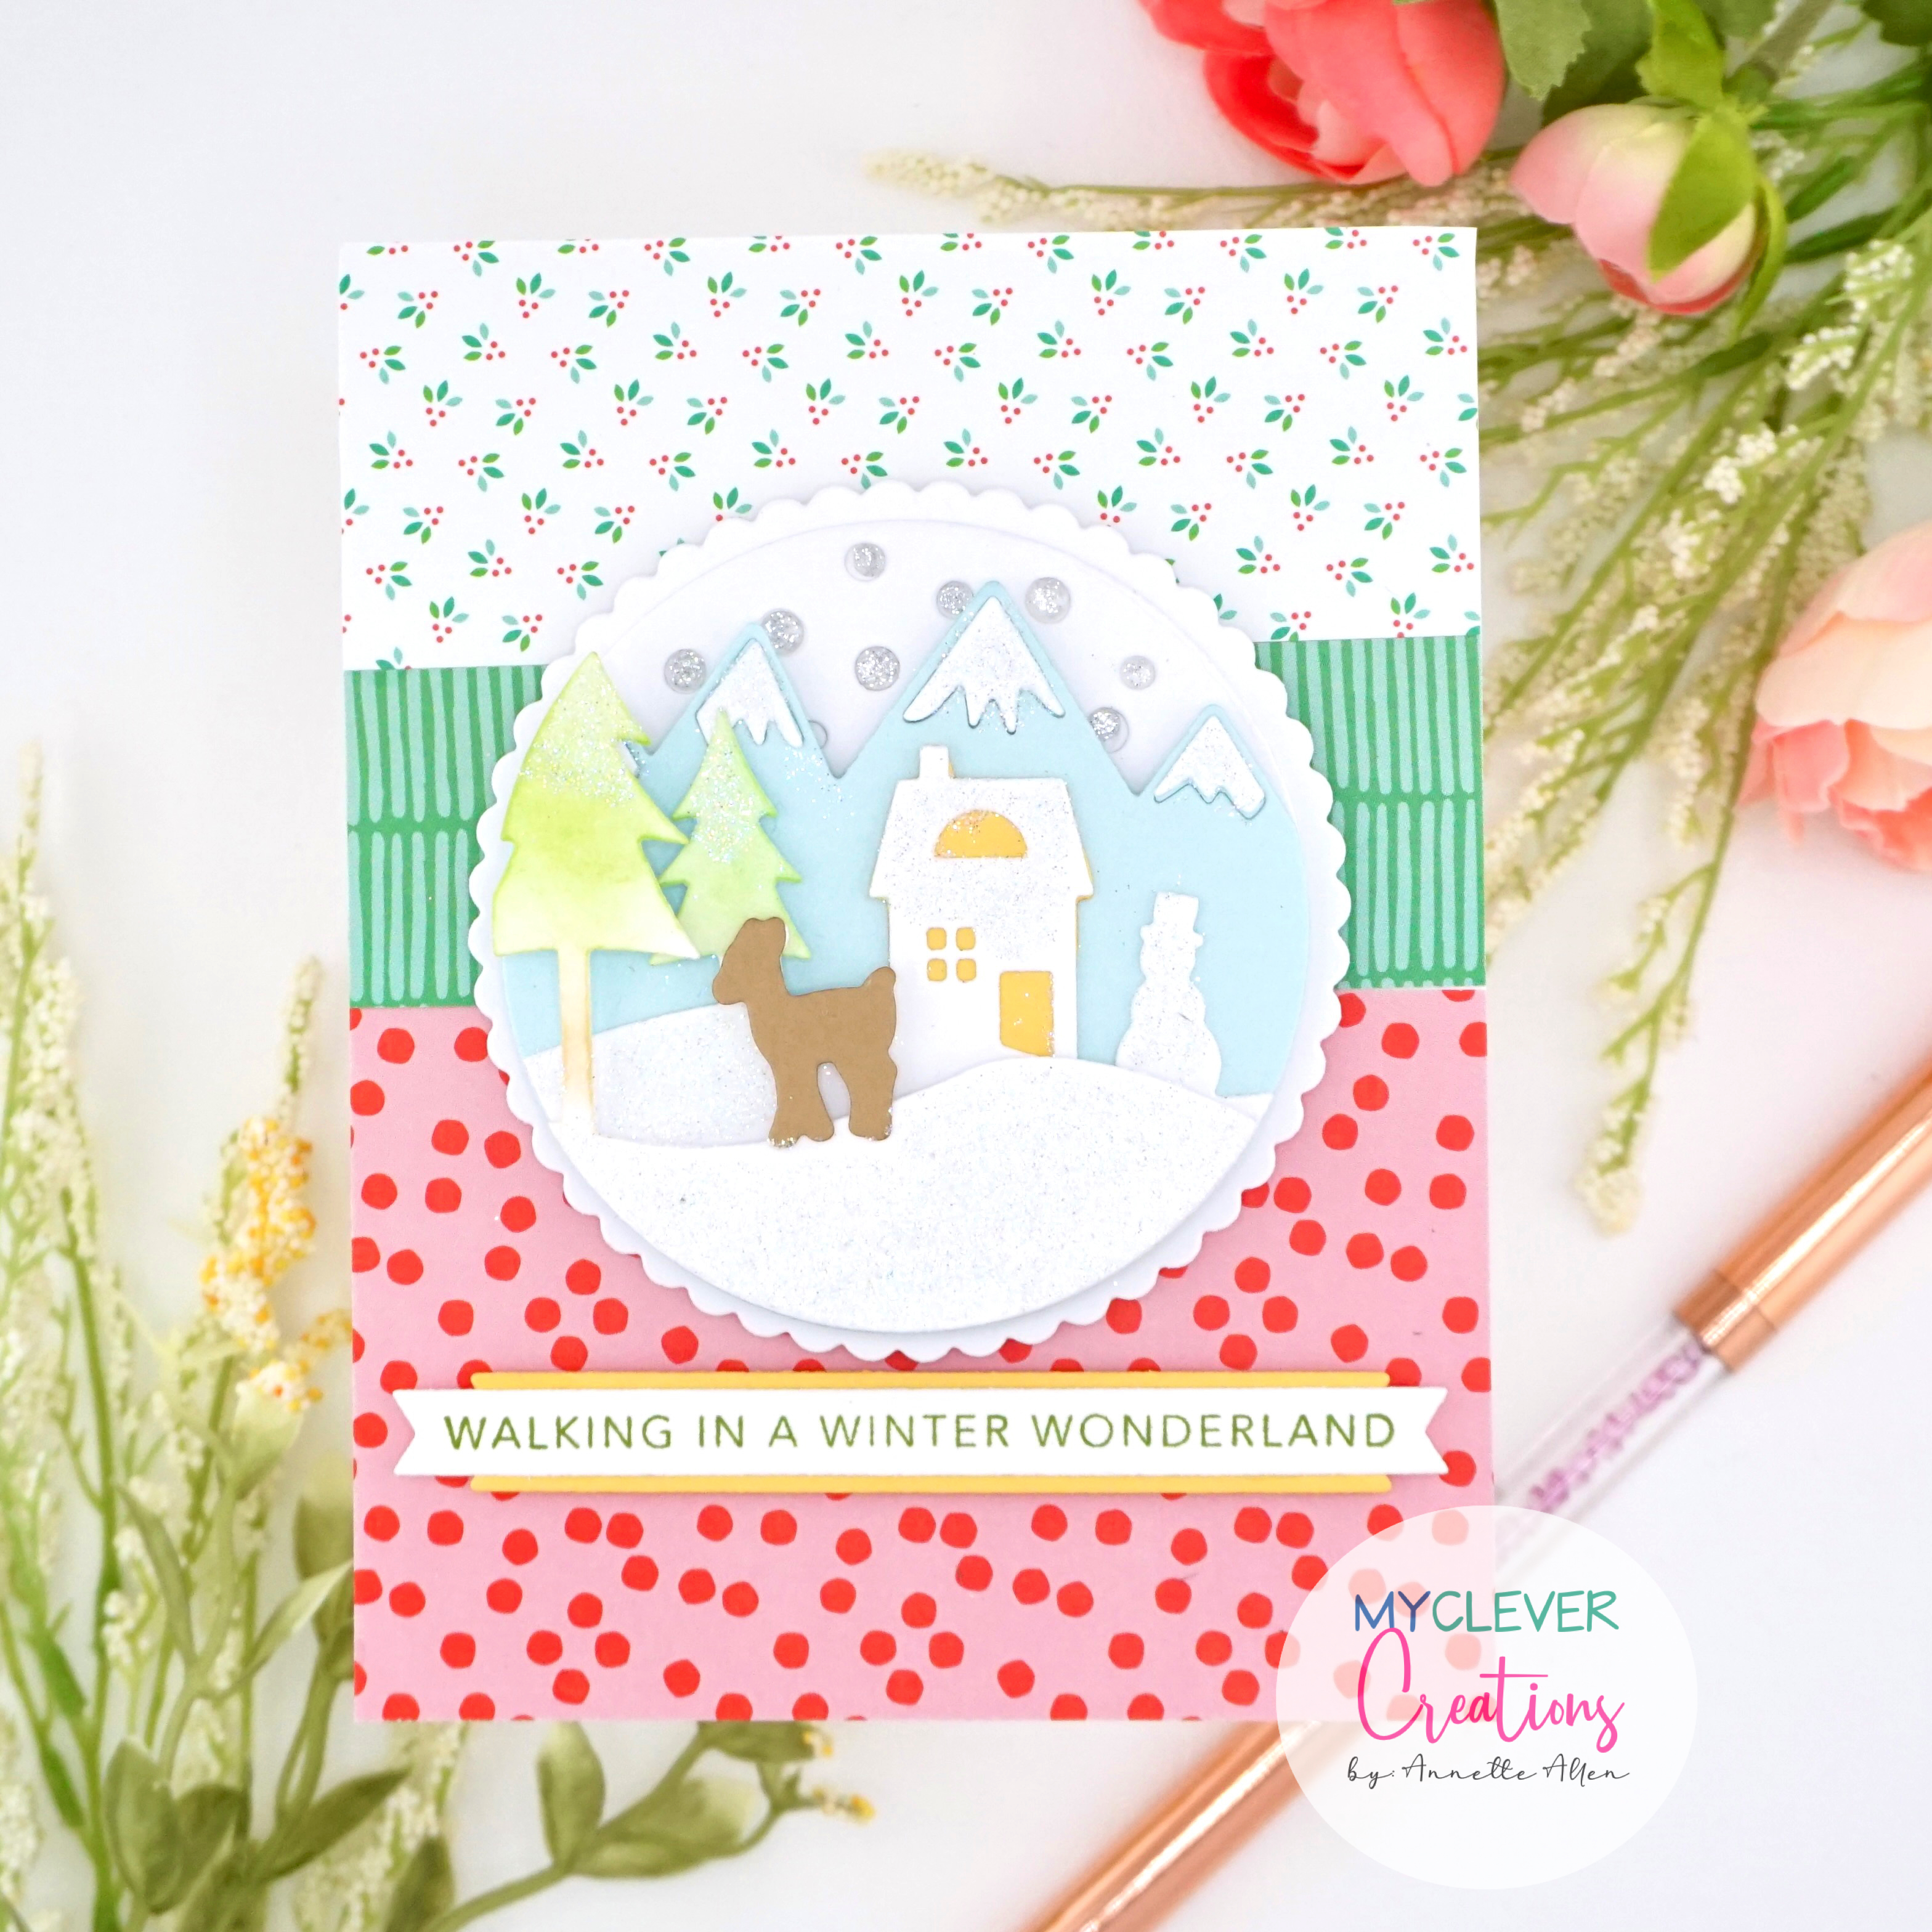
Happy Thursday blog friends.. Today I am back with another Christmas card. Yes, I am getting festive. I pulled out some scraps from my scrap drawer and also today I am using some oldies but goodies. This little scene was created using the Papertry Ink Ornament Background dies and the sentiment is from Taylored Expression. So let's get started. 


I picked three pieces of designer papers that would pass for Christmas. I believe the top one is Lawn Fawn, the middle one is Reverse Confetti and the bottom is American Crafts... how's that for memory. LOL 

Create card from white cardstock A2 size. 

Cut a white panel A2 size and adhere your fun patterns using liquid glue. Trim off the access. Adhere your panel to your card base using liquid glue.

If you own this set from Papertrey Ink, die cut all the pieces out and adhere them together. I used a little ink on the trees and the yellow is a piece of yellow cardstock and the deer is die cut on kraft cardstock. The pieces layer so it is really easy to adhere together. I used some foam tape for a little dimension. 

If you do not own this set but have trees, deer, snowman or maybe some mountains. Die cut a scalloped circle and create your own scene, just use foam tape. 

Adhere the scene to your card using foam tape. 

Stamp the sentiment from Taylored Expressions Simple Strips Christmas stamped in green ink. I used the coordinating dies and just added a smaller banner behind in yellow. This unites the yellow from the house. 

I added some silver glitter dots for the snow and a little fine white glitter on the white parts. 


Never get rid of the older sets that you love. It is always fun to pull them out again and see why you kept the set. I don't think this scene will ever get old. 

Thank you so much for stopping by.

Have a wonderful Thursday.

Wednesday, September 20, 2023

It's Party Time...


Happy Wednesday everyone. Sorry I have not posted recently. I have been working behind the scenes on some special projects. But today I am so excited to share this card that I created using the Bella Blvd Birthday Bash. I won the entire collection and just received it this past weekend. I love this entire collection and I did not have to stamp anything.

Card designed using Bella Blvd:
  • Ephemera Words Birthday Bash!
  • Ephemera Icons Birthday Bash!
  • Birthday Bash! Hip Hip Hooray designer paper
  • Birthday Bash! Surprise Sequins Mix


Create card from white cardstock A2 size.

Die cut the Hip Hip Hooray designer paper with the Reverse Confetti frame die cut. Add some foam tape to the back but do not adhere it yet.

Cut a strip measure 1 1/2 x 5 1/4 of the same designer paper and use the opposite side and adhere it to the back and center of the die cut frame. Add foam tape to the back of the strip too. Now add that fun frame with the strip to the card base.

Open up the fun Ephemera Icons and Words and pick out some images to create a fun birthday scene. Use some foam tape here and there. This helps when you are overlapping images.

Add some of that Surprise Sequins for a little shine. 


A fun birthday card without any stamping. I have always love Bella Blvd collections. They are always full of bright colors and fun designs. 

That is all for today.

Thank you so much for stopping by.

Have an awesome day.

Tuesday, May 2, 2023

Colorful Hello...


May is here and summer is on its way. But before that we are sure to get a little May Gloom. We are already getting rain this week and the sun is hiding behind the clouds. But I have to say I do love this weather. It is not too cold outside and well it will be hot in no time and I am sure we will get plenty of it. 

So today I put the sun on my card and filled it with color. This is a great way to use your scraps. Card designed using...
  • Reverse Confetti: Over the Rainbow Confetti Cuts
  • Taylored Expressions: Oh My Word Hello die
Two dies and a card full of color.... let's get started.


Create card from white cardstock A2 size.

Die cut this fun sun and circle die many times on different colors of cardstock. Adhere the larger circle in the center of the sun (use a darker color) and then add the circle center cut to the top. Adhere them all and then create your colorful background. Use liquid glue and adhere to your card base.

Die the TE Hello die three times and adhere together. Now adhere to the card using liquid glue.


That is what I love about dies. I used three dies and that is it. Lots of scrap colored cardstock and one sentiment. Now what do you think?

That is all for today.

Have a wonderful Tuesday!

Friday, January 13, 2023

Say Hello...


YAY! it is Friday. My husband was telling me it was a holiday on Monday, three day weekend. YIPPEE! I am starting out my weekend with this card that I created using...
  • My Favorite Things: Black and White Strips 6x6 paper pad
  • Reverse Confetti: Patterned Hearts stamp/die combo
  • Reverse Confetti: Large Rainbow Circle die
  • Reverse Confetti: Fa La La Circle die
  • Waffle Flower Crafts: Lacy Panel die
  • Taylored Expressions: Mini Strips Hello Add-ons stamp/die set
  • NUVO: Simply White Crystal Drops

First I want to start with I already had all these cut out from previous cards. I just had to put the card together. 

Create card from cardstock A2 size.

Cut a piece of the Black and White Strips designer paper slightly smaller then the card base and adhere to the card. 

I die cut the Large Rainbow die twice on two different colors of cardstock and adhered together. 

I then die cut the Fa La La decorative circle on white cardstock. I then die cut the same circle using the plain circle in the center so it had an opening. 

Adhered the circled frame around the Large Rainbow circle.

Adhere the decorative circle to the center of the card base. 

Die cut the Waffle Flower Crafts Lacy Panel flower die on white cardstock and adhere to the corner of the decorative circle.

Stamp this fun heart from the RC Patterned Hearts stamp set and die cut using the coordinating dies, then adhere to the inside of the decorative circle.

Stamp and die cut the mini strips Hello add-on, pick a fun sentiment and add it to your card. 

Finishing up with a few NUVO crystal drops here and there. 

I keep all my extra die cuts pieces. This makes for easy card making. 

That is all for today.
Thank you for stopping by.

Have a fantastic weekend!

Wednesday, January 11, 2023

Happy Heart Day....


Hello blog friends.. Today I have taken out some Reverse Confetti. They are no longer in business but that's ok, I still have a few of my favorites that I love to craft with. Today's card was created using...

  • Drop Cover Panel die
  • Patterned Hearts stamp/die combo
  • Large Rainbow Circle die
  • Fa La La Circle die
  • Pink & Main: Sentiment Strip dies

Create card from cardstock A2 size.

Die cut the Drop Cover Panel on a piece of colored cardstock and adhere to the card base.

Die cut the Large Rainbow Circle die 6 times on your choice of colored cardstock and create your circle.

Die cut the Fa La La circles on white cardstock. I die cut the two circles together to create the circle opening so I can use it as a border for my rainbow circle. 

Add the circle to the center of the card using foam adhesives. 

Stamp two of the patterned hearts with black ink and die cut using the coordinating dies. 

Adhere the first heart using liquid glue and the second with foam adhesives. 

Finishing with the sentiments that I stamped and die cut using P&M Sentiment Strip dies. 

Add the sentiments using foam adhesives only on the parts that do not touch the hearts. This will help to line up the sentiment to be the same depth as the top heart. 


AND there you go another heart card. You ask, will there be more? Why, yes there will. LOL You will have to stop by again to see what's next.

Have a fantastic Wednesday. 

Thank you so much for stopping by. 

Tuesday, December 20, 2022

Very Merry Christmas...


Just days away from the best day of the year.. The birth of Christ. Looking forward to celebrating the birth of Christ. Although really we should be celebrating him everyday... right? 

Today I am here with another non-traditional color themed Christmas card. You know me... color, color and more color. It is my thing. LOL

This card was created using... A Pocket Full of Happiness (That Summer Feeling and Very Merry) dies. 


Create card from cardstock A2 size.

Pick a fun patterned paper you love and adhered it to your card base. This designer paper is from Reverse Confetti, sadly they are no longer in business. 

I die cut this fun circle from the That Summer Feeling die set 4 times using different colors of cardstock. I adhered them all together and rotated the circle so the design changed. 

Adhered the circle pattern to your card using liquid glue.

Die cut the Very Merry die set on two different colors of cardstock and adhere them to the backer. Make it colorful.

Using foam tape adhere the sentiment to the center of the circle pattern.

I used some of Taylored Expressions sentiments that I had already stamped and die cut. This is part of her Simple Strips sentiment designs. I have lots that I can always turn to, when finishing a card.

That is it.... what do you think? Non-traditional but fun... right?

Thank you for stopping by.
Have the most awesome Tuesday!

Friday, December 3, 2021

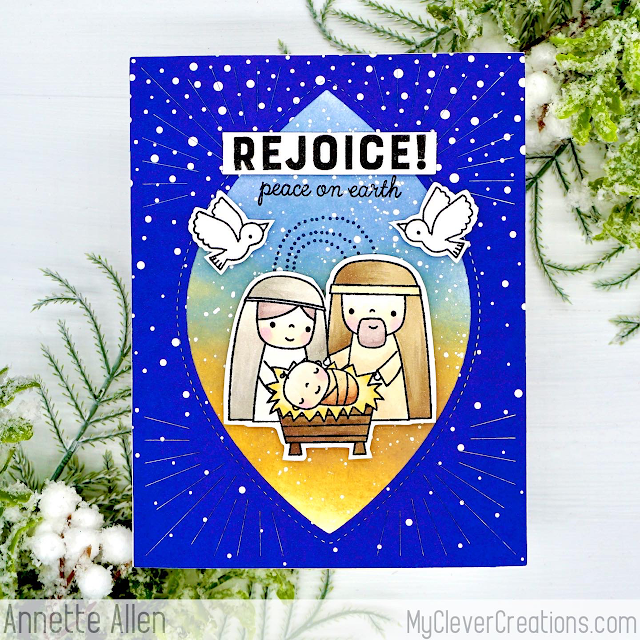
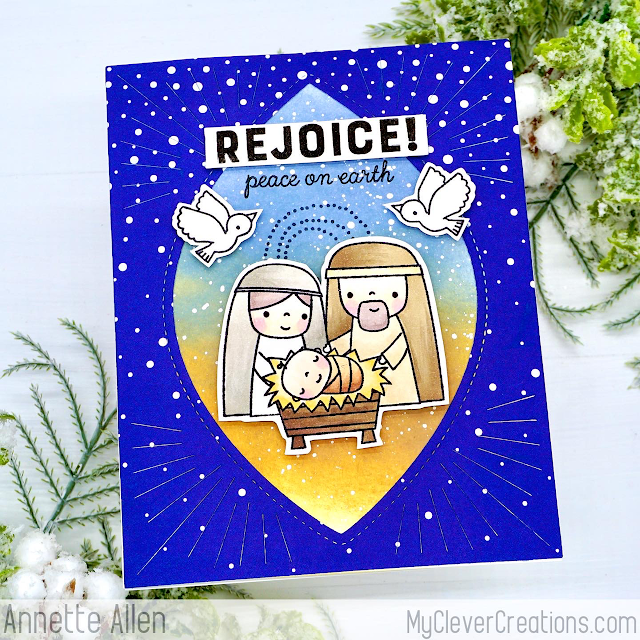
Rejoice!...

Happy Friday blog friends. Yes, we hit the weekend. Does anyone have any special plans? As for me, nothing planned just maybe do a little Christmas shopping. I usually have all my Christmas shopping done by now, just because I really do not like crowded stores. 

Today I have created a card using the new Reverse Confetti: Adore Him stamp set and Open Drop Cover Panel die, Ranger Oxide inks Brushed Corduroy and Stormy Sky and MFT Stamps: Holly Jolly 6x6 paper pad. 

I die cut the Open Drop panel on some of the MFT Stamps designer paper Holly Jolly. Before adding this pretty die cut panel I added a little ink blending to my card base. Of course I had to add a little Copic Opaque, then adhered the panel to the top.

I then stamped out my images from the Adore Him stamp set and colored using Copic Sketch markers. I had to do a little fussy cutting. Now my images are ready to be adhered to the card. I used foam adhesives for a little dimension. 

Finishing up with stamping the sentiments.

Another fun Christmas card that I just Adore. Christmas stamps just really make for beautiful cards. Plus it also inspires the soul. 

That is all for today.

Come back tomorrow for a Pink & Main card.

Thank you for stopping by.

Monday, November 22, 2021

Holidays...


Happy Monday blog friends. I created this card last week but forgot to share it on my blog. Dont know what I was thinking. LOL

This card was created using Reverse Confetti NEW: Polar Party stamp set, Retro Holiday stamp set and Open Drop Cover Panel die. 

The background is one of my handy dandy Alcohol inks background that I die cut the Open Drop Cover Panel die on. I then stamped out these adorable images and colored using Copic Sketch markers. I had to do a little fussy cutting because I did not buy the coordinating dies. But they are available for purchase I just did not buy them. LOL I added some of the images using foam adhesives for a little dimension and finished up with stamping this sentiment, trimming around it and adhering it to my card. 

Another fun Holiday card and when I seen the Reverse Confetti release I just had to have it. 

I am also entering this card in the Reverse Confetti Stock Your Stash challenge. Theme is Holiday/Winter.

That is all for today.

Thank you for stopping by.

Have an awesome Monday full of smiles.

Wednesday, September 15, 2021

Boo To You...


Happy day blog friends. Today I am back to Halloween, so I created this card using Reverse Confetti: Boo To You Confetti Cuts, Waffle Flower Crafts: Chunky Chevron die and Bella Blvd: Spooktacular paper pad. No stamping for me today.


This card did not take long at all. I die cut the Chevron pieces on the Bella Blvd Spooktacular designer paper. The Reverse Confetti Boo To you die comes with the rest for this card. I just die cut and adhered to my card base. I added a little vellum behind the sentiment just for a different look. The pumpkins are peeking through. 

Simple simple card.... I mean die cut and adhere. It does not get any easier. 

Well that is all that I have for today. I am off to Disneyland tonight for some Mickey Fun. I love that the season passes came back and I live like 10 mins from Disneyland. That is without traffic. LOL

Have an awesome day.

Thank you so much for stopping by. 

Thursday, August 26, 2021

EEEK! Spooky....


YAY! for Thursday. Today I am getting SPOOKY with Reverse Confetti: Boo Yea, Frightening Friends and All Framed Up. I used Pinkfresh Studio" Key Lime, Lavender, Clementine and Sweet Mustard ink pads. 

I started with stamping all these fun sentiments from the Boo Yea stamp set with Pinkfresh Studio inks. I love the script on these fun circle sentiments. 

I then stamped out all the images and colored with Copic sketch markers. Once again I had to do a little fussy cutting but it took no time at all. I added the images to my card base using foam and liquid glue. A little dimension here and there but not on all the images. 

Don't you look at your card sometimes and feel that you are missing something? Well that was the case here so I added the All Framed Up frame around the images. I don't know if I would add it now looking at it but I added the glue and well it ended up on the card. 

I would say always look at it first before adding the glue and make sure you love the look first. I still love it but might have left the frame off. What do you think?

That is all for today. It is starting to get hot here again in SoCal so I am just kickin back and staying cool. Maybe working on another Halloween card. You will know tomorrow if you stop by. LOL

Have a wonderful day.

Thanks for stopping by.

Friday, July 10, 2020

Just Like YOU...


Happy Friday blog friends. I hope you all have had a great week and have something fun planned for the weekend. I don't have anything planned yet but I hope we can think of something to do. We try and do outdoor stuff so we don't have to wear a mask. When it is hot outside wearing a mask is just suffocating. I pray everyday that life gets back to normal. I pray for a cure and that no more business have to close up due to all the closures. The world is a strange place right now.

Well enough of that. Let's talk about this card I just created. I created it using Reverse Confetti: Ice Cream Social stamp set, So Many Sentiments stamp set, Love Note die set, Under the Umbrella and Fun Times paper pads. Lots of Reverse Confetti.


So many stamps too create with I sometimes have a hard time choosing what stamps to ink up. Weird problem to have... right? I mean that should not even be a complaint. HaHa..

I colored these sweet images with Copic sketch markers and hey I had the coordinating dies... I know a miracle right? I used some foam tape to give the images some dimension. TOTALLY SIMPLE card to create. As you can see not much going on, but don't you just love those sweet little critters?

Well I hope you all have a weekend full of fun.
Thank you for stopping by.

Friday, May 15, 2020

So Appreciated...


Why, yes I am back again with another card. I just cant  help myself. I mean the GOV. said stay home and craft... right? LOL  I am doing my best to follow orders. teehee.

I created this card using Reverse Confetti: Paper Bliss paper pad and Neat & Tangled: Geometrics cover plate die and Lovely Lotus stamp set. 


I had a different card in mind but ending up with this. Funny how that works... right? I did a little paper piecing which does not happen often. I remember when paper piecing was popular a LONG time ago. I was hand cutting everything. Maybe that is why I am so good at fussy cutting. hmmmmm 

I do have to share that the ocean breeze is filling my house today and it is GREAT. I went for a long walk and sat in the sun for a little bit. My husband is hard at work and I am soaking up the sun. hmmmm poor guy but lucky me. LOL 

So, now really this is the last card until Monday. I don't usually craft on the weekend. 

Have a great weekend.
Thanks for stopping by again!

Thursday, March 5, 2020

Sunshine...


Today is the 5th of March and I am wondering where the time has gone. Didn't we just celebrate Valentine's day yesterday? Time sure does fly by when you get older. I cant believe that my birthday/anniversary is next month. But lets be clear I am not getting older, I am forever young. LOL 

Well, enough of that. Today I am sharing a card I created using Reverse Confetti: Rainy Day stamp and coordinating die set. This set is just so happy. I was browsing my stamps today and well when I seen this one I was like perfect. 


I used the scraps from yesterdays card and created this background for today's card. Never get rid of scraps... right? But on the other hand how many scraps do you need. haha

I colored the images with Copic Sketch markers and die cut with the coordinating die set. I am sure you are saying finally she has the matching die set. LOL I am kind of a cheap crafter. I used some scotch foam adhesives to give the images some dimension and finished up with this cute sentiment. Really if you think about it, there is not much to this card. 

That is all for today.
Thanks for stopping by.
Sending you Thursday Smiles....

Friday, January 10, 2020

Forever My Love...


YES it is Friday and we are so ready for the weekend. What a week we have had. I have to report that I did get a fun Disneyland trip in this week. That is always fun. I have not posted much this week but I have managed to create a card today.


Lately I have been into patterns so why not go wild with designs... right? I love this Paper Bliss paper pad. I love the colors and patterns and as you can see they go so well together. Lots of die cutting and just a bit of stamping. Totally easy card to create just use LOTS of foam adhesives to give it lots of dimension. The hearts are just popping off the card. 

Have a fantastic weekend.
Thanks for stopping by.

Thursday, September 5, 2019

Happy Spooky Halloween...


YAY it is almost Friday and again I have Halloween on the brain thanks to Reverse Confetti. I seen this new challenge yesterday and well got to stamping and inking and this is what I came up with. 


Don't you just love these little Halloween cuties? I love that this set had some spooky trees and a cool spooky fence. Totally fun to create with. I fussy cut all the images as I wanted the trees and fence to have all the openings cut out. My hand was shaking when I was done, I think it was from holding those little scissors. LOL 

Well that is all for today. I hope you all have an awesome weekend. My husband and I was going to make a big decision this weekend. I will share later.... stay tuned.

Thanks for stopping by.
Have an awesome day!

Thursday, June 20, 2019

Sending You Sunshine...


Happy Thursday everyone.. this is my last post guest designing for Reverse Confetti and I have to say I had a blast designing for them these past two months. So blessed.

Well today I am getting crafty with Reverse Confetti: Rainy Day Fun stamp set and coordinating confetti cuts. This set is so totally fun to color and craft with.  


I colored the images with Copic sketch Markers and the background was created with Ranger Oxide Inks. I did a little oxide ink splatter to give the illusion of rain. I loved created this card and really happy with how all the colors worked together. It was an easy card to photograph, I am guessing because that blue just highlights these adorable images. 

Thank you so much to Reverse Confetti (Jen) for having me these past two months. It really was a blessing. 

Have a fantastic day.
Thanks for stopping by!

Tuesday, June 11, 2019

Reverse Confetti June Stock Your Stash Challenge...


Happy hello everyone. Have you seen the new Reverse Confetti Stock Your Stash Challenge? It is a new month and this months theme is Hello/Just Because. 

I created this card using Reverse Confetti: Toucan of Friendship stamp set, Hello Lovely Confetti Cuts, Love Note Confetti Cuts and Paper Bliss paper pad. Lots of Reverse Confetti on this card today. I just adore this Toucan of Friendship stamp set. Totally fun to color.


I am all about color so I went a little wild with the color but with these fun stamps you really can add lots of color to them and they just always turn out cute. I colored the images with Copic Sketch markers. The background was created using Ranger Oxide inks and I die cut the sentiment twice on this pretty Paper Bliss paper pad and once on white card-stock. Lots of foam adhesives and NUVO White Crystal Drops. 


Make sure to link up your Reverse Confetti Cards HERE.

Thanks for stopping by.
Have a wonderful day!

Saturday, June 8, 2019

Reverse Confetti Blog Hop...


Happy day everyone. Here we are now in June and it is that time again. Reverse Confetti monthly blog hop where we offer you lots of fun Reverse Confetti inspiration. You know the one that makes you want to go shopping. LOL


Lots of layering on this card today. When you have lots of dies why not layer them? All of these dies worked so well together. 


Next Stop ✂︎ Keeway Tsao 
Olga Matyushevskaya

Thanks for stopping by.
Have a wonderful weekend.